


Like many, my first introduction to sewing was watching my grandmother make throw pillows for our home. This experience led me to appreciate the artistry of fiber arts and to develop a life-long love of sewing. I dreamed of being as creative and talented as my grandmother. This desire led me to take sewing classes in high school. And the first project I ever completed was a raw edge ruffled scarf.
Now, I’m not sure where my home economics teacher found this design, likely in a magazine, but it’s one that stuck with me always. I never wrote it down (that I can remember,) the method is simply on auto-recall.
Of course, it’s a very easy pattern to remember and create. Which is the beauty of all beginning sewing projects. Their simplicity that bears wonderful results is what leads us to want to continue to develop our skills, taking sewing to the next level.

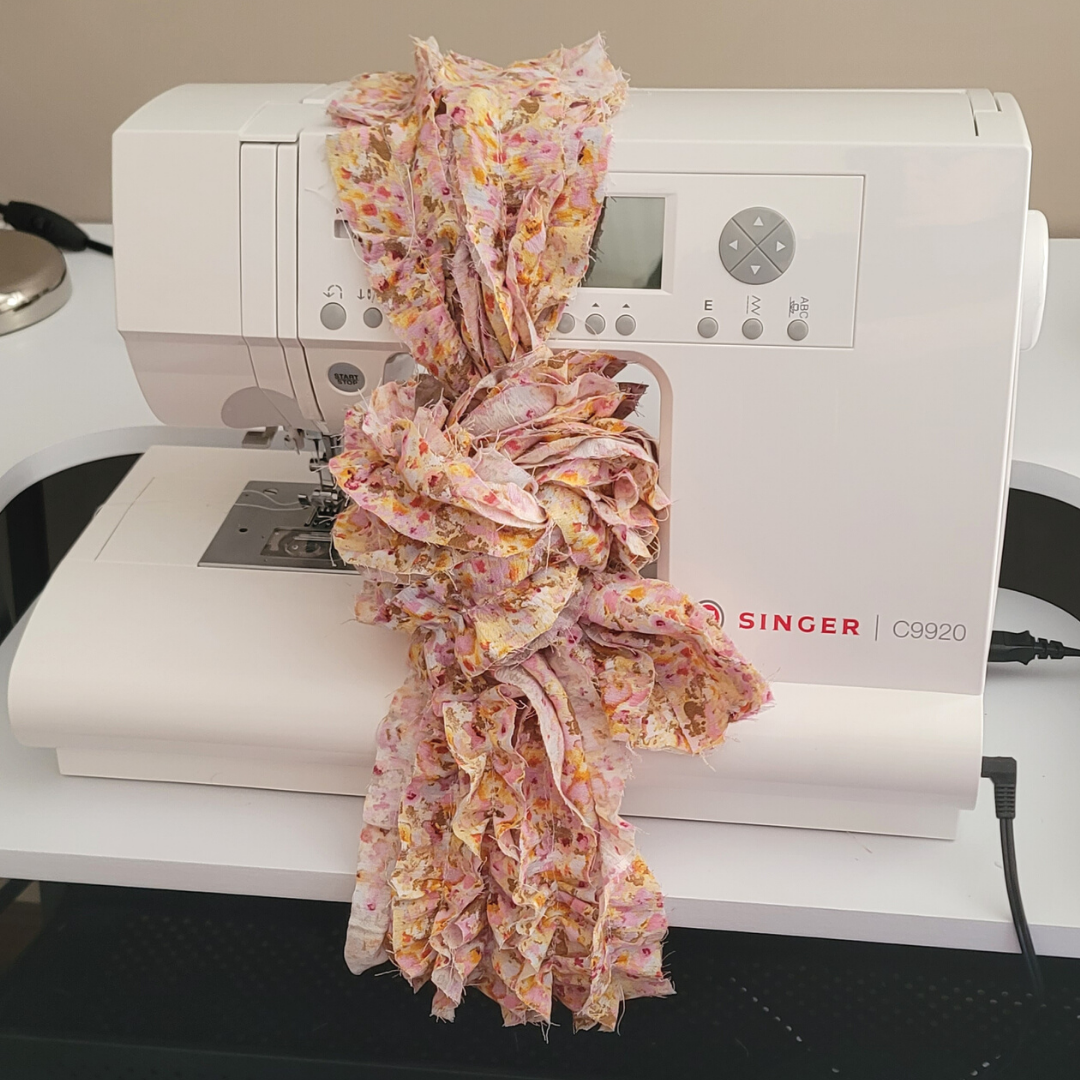
My muse is the Singer C9920 Sewing Machine which is an excellent machine for sewers of all skill sets. Singer sent me the C9920 to inspire my creativity to share a few Spring projects with you. I hope you enjoy creating this Raw Edge Ruffled Scarf project as much as I did re-creating it from wonderful childhood memories for you!
Raw Edge Ruffled Scarf
To create this scarf, you’ll need about 1 yard of material, preferably 44/45″ width. To get a nice frayed edge look, a silk blend, soft linen, or cotton fabric is ideal. If you’d like a cleaner no-fray edge, try a minimal-fray fabric like poylester, guaze, or nylon.
You’ll also need thread that coordinates with your fabric (so that it dissappears into the design). If you’d rather have the thread stand out (which can be a cute designer look, too,) then choose a contrasting thread instead.

Assembling the Ruffles
Fold the right sides of your fabric together so that the fabric is folded in half lengthwise. The fabric should measure 36-inches along the top and bottom and 22-inches along the sides.
Starting from the left side of the fabric, measure (and mark) ten 2-inch sections along the top and the bottom of the material.
Beginning on the fold side and continuing downward, cut each 2-inch strip of fabric out. You will have ten 2-inch by 44-inch strips of material.

Assembling the Scarf Pieces
After cutting the ruffles, you should have a remaining section of folded fabric that is 16-inches (top and bottom) by 22-inches (sides). Unfold fabric.
Trim a 4-inch by 44-inch strip off length-wise. Then, trim a 12-inch by 12-inch strip off width-wise. You will have a 32-inch by 12-inch piece of fabric left.
Fold fabric with right sides together lengthwise to form a 12-inch (top and bottom) by 16-inch rectangle. The fold should be on the 12-inch side. Starting from the fold, cut the fabric into two equal strips.
When unfolded these strips will be 6-inches by 32-inches.

Note: If you are uncomfortable free-hand cutting the strips, you can fully mark the fabric with guidelines to aid you. The beauty of this scarf, though, is it does not have to perfect. As long as the measurements are close, it doesn’t matter if you have a little bit of a wavy edge.
Sewing the scarf
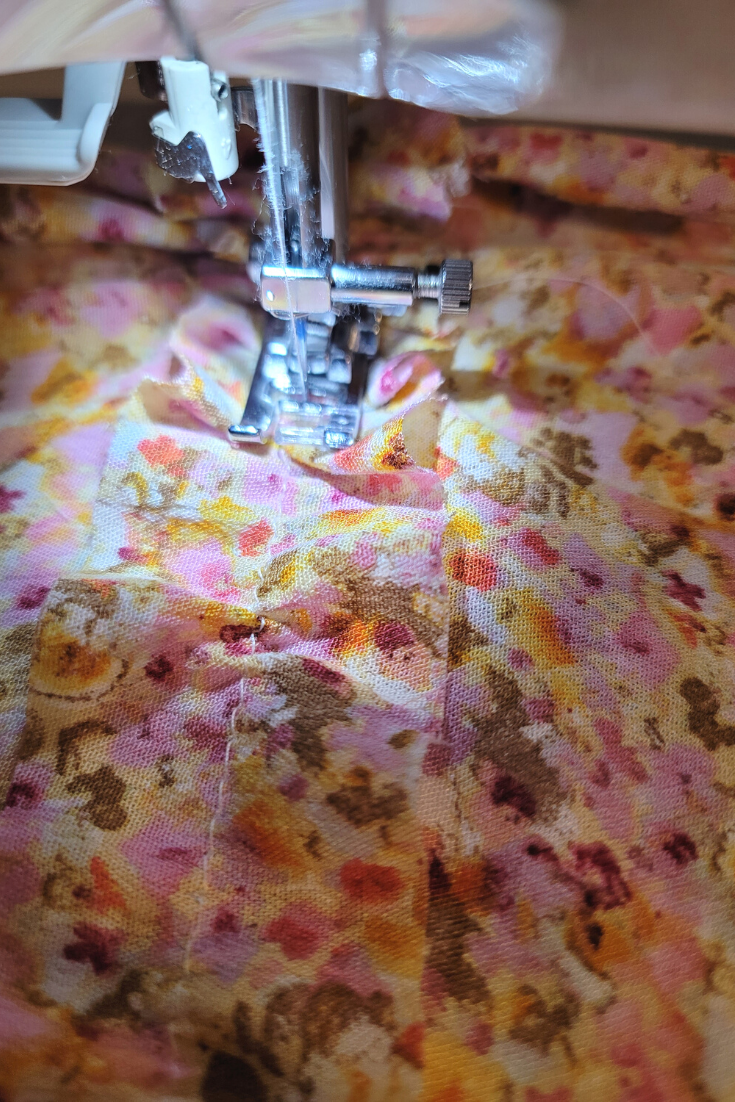
Take each ruffle and baste stitch down the center of each ruffle strip. Using the Singer C9920, I used settings 3.8 stitch width and 5.0 stitch length. (see photo below)

You may also opt to use a different setting or to hand baste each ruffle.
After basting, gently pull the basting thread and each strip to to ruffle the fabric (aka gather your ruffles).

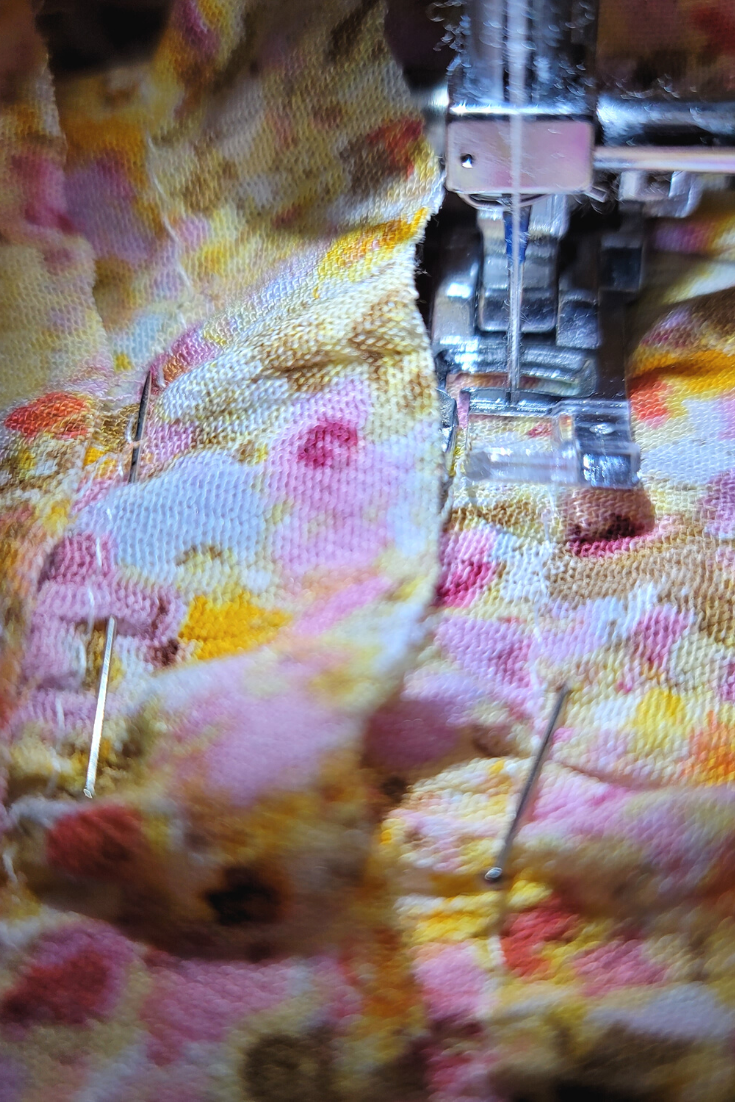
With the right sides of fabric facing up, pin 1 ruffle to the center (3-inch mark) of each 6-inch by 32-inch scarf section. (You may need to adjust the ruffles on the strip slightly to ensure it fits along the entire scarf). The ruffle ends should be evenly aligned with the scarf ends).
Stitch the ruffle to each scarf section. I used the basic standard stich setting on the Singer C9920, which is a standard straight stitch.
Repeat this process, adding two ruffles to each side of the center ruffle, sewing one ruffle at a time. The centers of the ruffles will be approximately 1-inch apart. Ruffles will (and should overlap).
When sewing, take care to keep ruffle edges upright and stitch underneath the adjoining ruffle edge. This ensures that you do not stitch any ruffle edges flat when sewing on a new piece.
Sew ruffles onto the second piece of scarf fabric in the same fashion.
Finishing Touches
When you’ve completed sewing the ruffles onto each section of the scarf, pin the right sides of the scarf base (the side with the ruffles) together at the short (6-inch) side. Sew scarf together (using a 1/2-inch allowance) to form one long scarf.
Trim any loose threads from sewing. Viola! You now have a flouncy raw edge ruffle scarf to enhance your Spring fashion!

Reference Download
Use this sheet for quick reference when sewing your scarf:
[embeddoc url=”https://ruralmom.com/wp-content/uploads/2022/03/Ruffle-Scarf-Sewing-Instructions.pdf” download=”all”]
About the Singer C9920 Sewing Machine
The preferred brand of sewing machine my grandmother used was Singer. The first sewing machine I formally learned on was a Singer. My grandmother bought me a Singer sewing machine as a wedding gift. It’s the brand I continue to love for all it’s durability and fantastic features.
The Singer C9920 Sewing Machine is not my grandmother’s sewing machine, but I certainly know it’s one she would have loved to have worked with! This dream machine is ideal computerized sewing machine for beginners and advanced sewing pros. With a wide range of stitches and fonts, you have endless opportunity for creativity. You can even program your favorite stitch sequence to use over and over again with the touch of a button.

Two of the first features I fell in love with are auto-matic needle threading function and the thread trimmer button. Both just add so much joy and ease to the sewing process! I’m also a fan of the easy-to-read LCD screen which shows your stitch selections and setting and the transparent bobbin holder which takes the guess-work out of how much thread I have left.
I’ll be continuing to explore and dig into the features of this lovely sewing machine throughout the summer. Stay tuned to learn how to make a quick and easy Farmer’s Market bag!
That is adorable!! What a great use up for extra material, or when you find a great sale! 🙂 Pinned it!
This is so pretty! What a lovely way to refreshen your spring wardrobe!
This is gorgeous. I actually just learned how to use my sewing machine, but am an absolute beginner.