 |
| We’re creating some indoor fun-in-the-sun crafts with Dollar Tree items this summer! #spon |
Remember The Fixx song from the 80’s “One Thing Leads To Another”? Well, that should probably be one of my theme songs, but something more along the lines of “One Craft Leads To Another,” especially when I’m putting together Dollar Tree crafts.
I started off wanted to make a memo board, which turned into a Flip Flop Memo Board craft (that I shared last week here: https://ruralmom.com/2014/06/dollar-tree-crafts-flip-flop-memo.html,) which then lead me to thinking about summer vacation and how I need some new frames. I quickly connected the thoughts thinking of cute summer-inspired frame shapes I saw at a local department store and I thought to myself “I bet I can create something similar for a fraction of the price.”
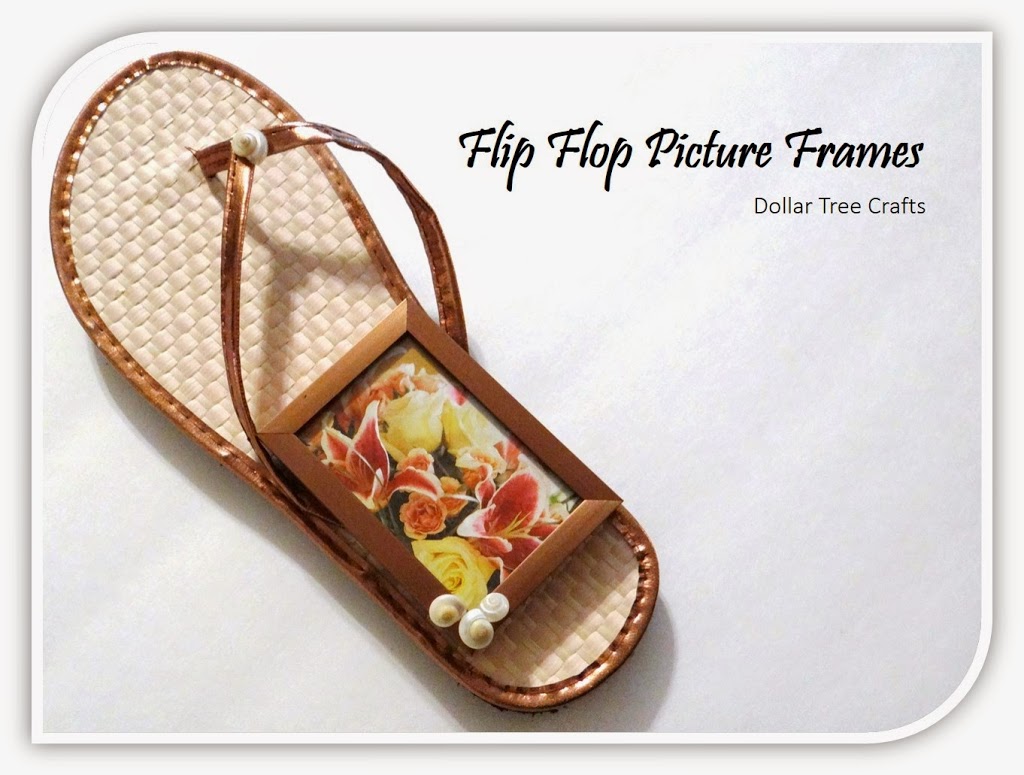
Naturally, that all led to another craft! In went another set of flip flops into my cart to create a Flip Flop Picture Frame.
Dollar Tree materials I used for this project are:
Ladies Flip Flops, size medium (various colors and patterns)
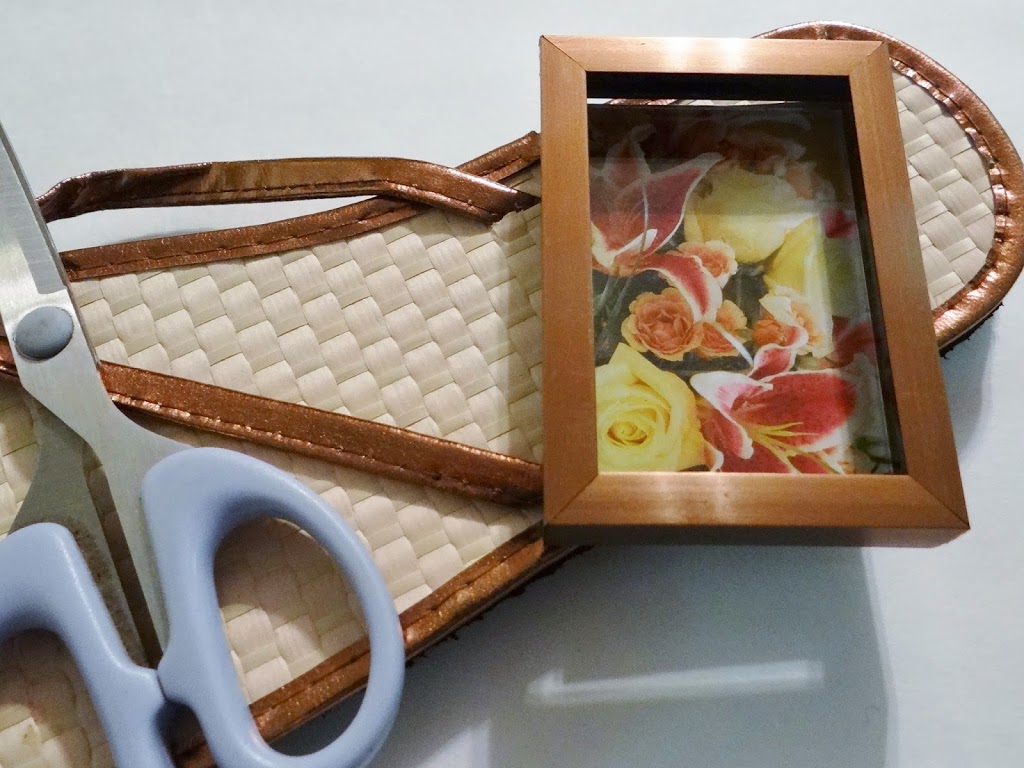
Metal Photo Frame 2 x 3-inch (Bronze)
My materials I used for this project:
Sea shells
Self-adhesive wall tape
Hot glue gun and glue
Scissors
Photo
Total cost of project: $1.50 each (each pair of flip flops renders two frames)
You can choose from a variety of flip flop styles and match them up with a complimentary frame easily at Dollar Tree. I wanted something a little more “elegant” and subdued as I planned to display the frame in our living room. The bronze-lined flip flop appealed to me for this reason. I originally thought I’d attach a clear frame that I would embellish with sea shells, but wound up finding a perfect matching metal bronze frame.
The frame only allowed for swapping out pictures from the side, though, so I decided I’d adhere the frame to the flip flop with double-sided wall tape, so that I could change out the picture in the future.
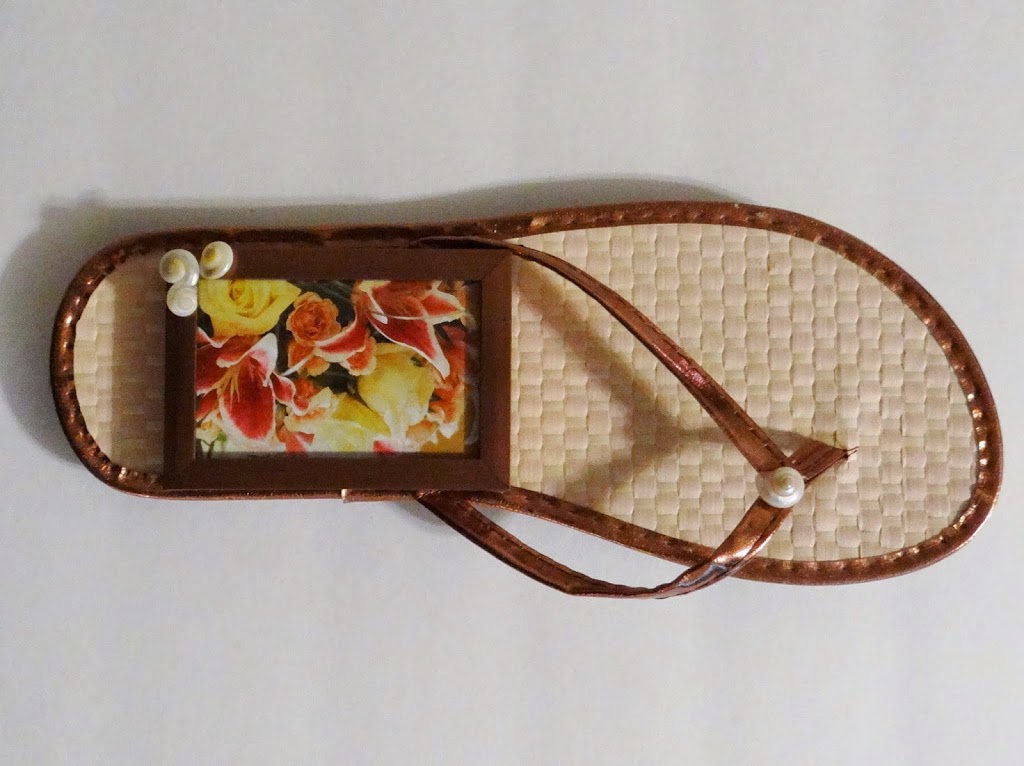
After that, it was simply a matter of cutting a picture to size, putting it in the frame and attaching the frame with the tape to the flip flop. If you have a top or side loading frame, use hot glue to adhere the frame to the flip flop.
Next I embellished the frame and the center of the thong piece of the flip flop with a few sea shells I’d picked up along our travels. Lastly, I added a strip of self-adhesive wall tape to the back to hang it up. You could also glue a standard wall hanger to the back, of use glue and angled piece of wood to the back if you would like to stand it upright on a desk or mantle.
I think the end result is quite charming and I plan to make more of these in different styles for our home and as gifts for family and friends. It’s a quick and easy craft and a wonderful way to display your summer memories!


I’m loving your Dollar Tree craft ideas! This is something I could do with my daughters on a lazy summer afternoon. Thanks for sharing your creativity.