As far as I’m concerned, spring planting season cannot come soon enough! I long to pull out my garden tool belt and get busy planting the first crops of the year.
However, I’m currently stuck knee deep in snow with the threat of more frigid conditions on the way. But that doesn’t mean I can stay busy filling the house with all things green and growing and even keep things super interesting and fun with a miniature garden.
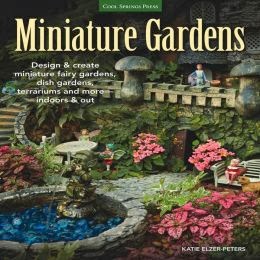
Master horticulturist, Katie Elzer Peters has just provided oodles of indoor (and outdoor) gardening inspiration with her newest book Miniature Gardens. This complete guide to miniature gardens is full of ideas, techniques and a hefty dose of good gardening practices. Katie’s mission is to bring basics of gardening back to the trend by building mini gardens that mix creativity with longevity.
Miniature Gardens gives you a thorough and beautiful window into this tiny world, from fairy gardening to dish gardening, terrariums, and even a miniature water garden project. From cute home tabletop designs to elaborate mini-villages and everything in between, miniature gardening is a pastime that can be enjoyed by hobbyists and families of all ages and in all sizes of living space.
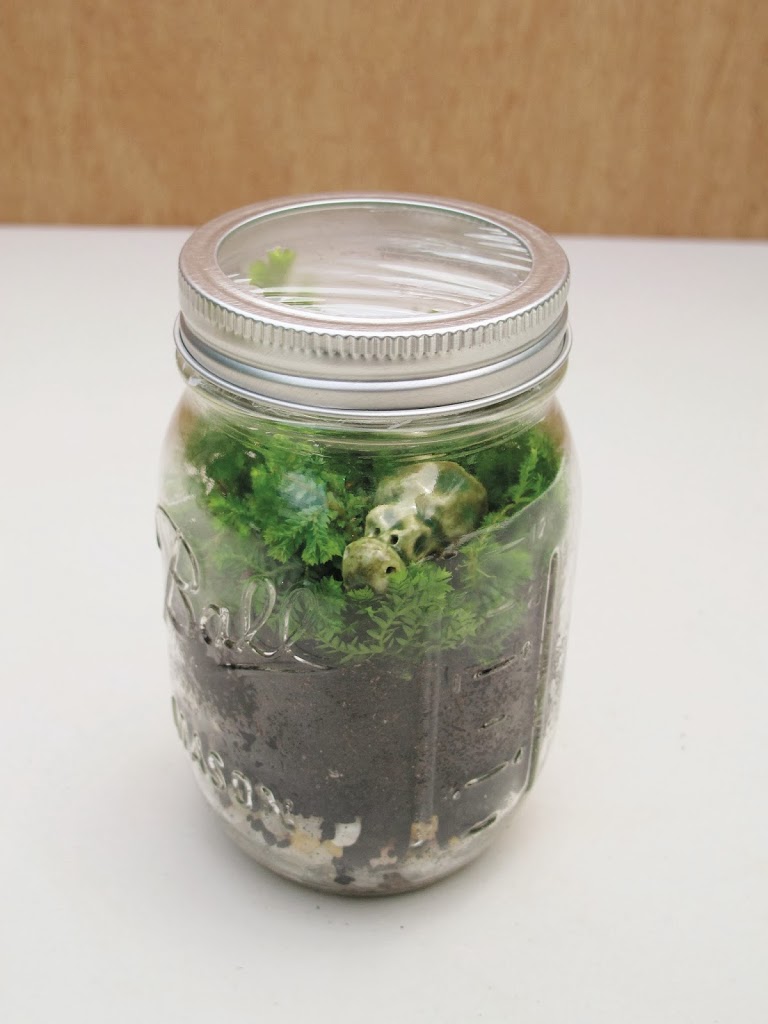
Use the terrarium tweezers (or a dinner fork) to plant the Selaginella. Make sure its roots are in the soil.
(Using plastic wrap instead of its metal lid allows more light to reach the plant and a better view of the plant.)


This is a fun idea, especially for my little boy to work on. I would like to try it with a little desert cactus.
These are so cute and we use to make these for teachers for gifts.
This is such a creative activity. I would love to have one of these on my desk in my classroom.
I would probably put ferns in my Terrarium. This is such a fun activity to do with your kids.
I would like to have cherry tomatoes in my minature garden.