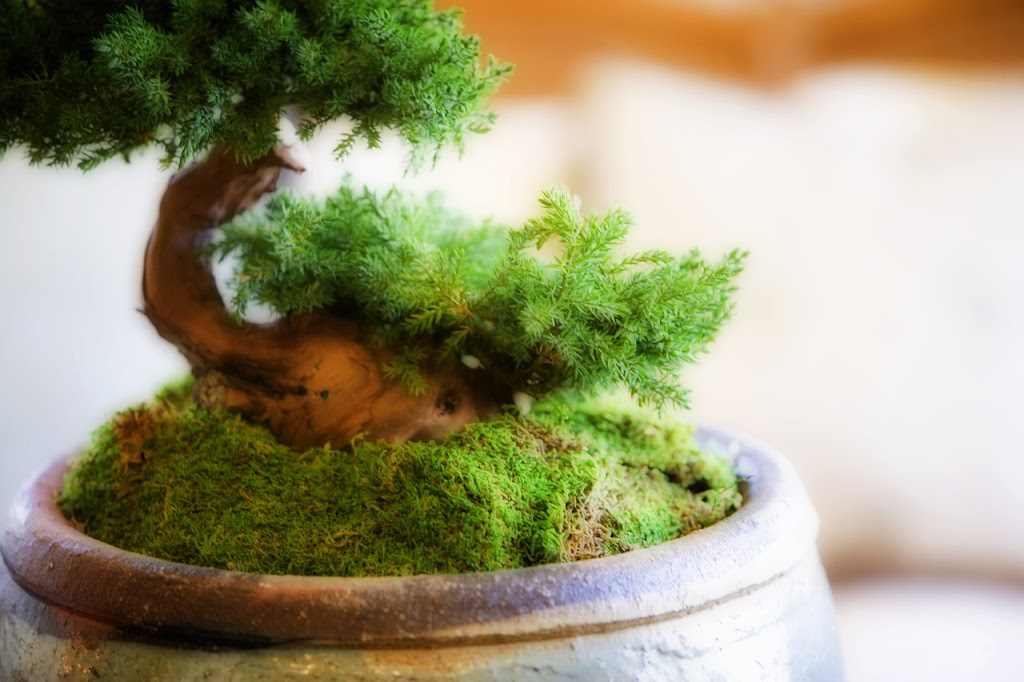
While most people associate bonsai with Japan, it probably originated in China. The word “bonsai” is a combination of the Chinese word for pot, “bon,” and “sai,” which means to plant. During the 8th century A.D., Chinese culture greatly influenced Japan, and this is probably when the Japanese adopted the art. Bonsai are meant to evoke natural beauty on a small scale, and to mimic the characteristics of a mature tree in miniature.
Bonsai is a blend of horticulture and art. It can be enjoyed by anyone, whether as a hobby or more time-consuming lifestyle. Before you begin, you will need some basic equipment:
1. Bonsai pots of various sizes and styles
2. Flexible mesh screen
3. Copper wire
4. Pruning shears
5. Pruning scissors (for trimming small branches, leaves and shoots)
6. Soil mix of two parts potting soil and one part pea-sized gravel
7. Chopsticks or unsharpened pencil
Now you will need to obtain your bonsai tree, or the raw material to make one. Ideas include:
1. Buy a ready-made bonsai from a local nursery or the internet and maintain its design.
2. Collect a small tree from the wild. This is the traditional Japanese method of obtaining bonsai, but it can be tricky in our modern times. Make sure you are authorized by the property’s owners. Look for a tree that has an interesting shape and can be easily collected. Trees growing on rocks, with their shallow root systems and twisted shapes, are ideal.
3. Garden center stock makes excellent beginner’s specimens. Juniper, cotoneaster, azalea, Japanese holly, and boxwood make good choices.
4. Landscaping cast-offs are another way to obtain bonsai material that is often already mature. When property owners tear out old shrubs such as azalea, boxwood, juniper, and forsythia, try to rescue one to make into a bonsai tree.
Cut to Shape
Once you have obtained your bonsai stock, it’s time to trim it to shape. Do not put it in the bonsai pot just yet; turn it and study its shape, looking for the tree-like qualities. Trim away branches from the base to form a bare trunk, and aim for a dense, finely branching crown. Use wire coiled around the trunk or branches to make the shape look like a tree that has grown for decades in the wind or hanging from a rock.
Pot It Up
Once you have the shape you want, gently wiggle the plant free from the pot and shake off as much dirt as you can from the root ball. Using your pruning shears, trim back the roots by about two-thirds. The root system should now be shallow enough to fit into your bonsai pot.
Prepare the pot by covering the pot’s holes with small squares cut from the wire mesh. Pour a small amount of potting mix on the bottom of the pot, set your newly-trimmed bonsai on top, then fill in with potting mix. Use the chopstick or pencil to work the soil down among the roots. Water thoroughly.
Maintain and Enjoy!
Your bonsai is always a work in progress. Keep it trimmed to maintain and refine its shape. Every other year, in the very early spring, remove your bonsai from its pot and re-trim the roots. Remember, bonsai are not houseplants. Keep your bonsai outside.


