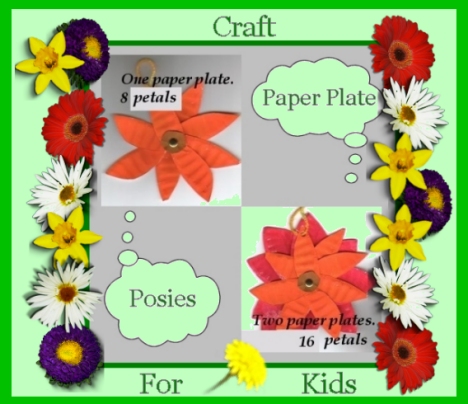
Paper Plate Posies are a great craft to keep kids busy. With this year’s spring being warm one day and then snow the next these flowers are also a reminder to Mother Nature that Spring should have Sprung! Even in Florida we are wondering what is going on because it is warm for a day or two and then BAM, it is cold again!
So lets get the inside of our house looking like spring and maybe the outside will follow suit. Paper Plate Posies are inexpensive and fun for the children to create their own flower gardens to beckon spring to hurry up, get here and stay.
Supplies:
- Paper plates (one paper plate for each row of petals)
- Brads (one for each flower center)
- Yarn or String (used to hang the flowers)
- Paints (Your choice of type and colors, I used acrylic but water colors will work too)
- Paint brush (larger ones work best because it covers more area quickly.)
- Scissors
- Paper Punch
- Construction Paper
Directions:
Paint plates the colors you want your flowers.
Cut out a small or large circle for the middle of your flowers from construction paper or cut circles from paper plate and paint it the colors of your choice.
After your paint dries then fold the plate in the center and then fold it two more times.
Cut out on the edge of the paper plate to make petals.
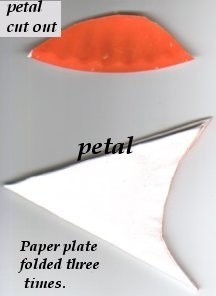
I cut out two different sizes. The inner petals are narrow and the outside petals have a wider cut.
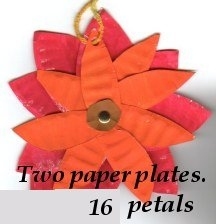
Paper punch one hole on one end of each petals and punch a hole in the center of the circle you cut for the centers of your paper plate posies.
Note: The brad will go through the holes to keep the petals together so be careful not to put your holes to close to the end to prevent them from tearing. Try and keep the holes the same distance on each paper plate petal so they are the same height.
Take the brad and insert it in the center circle
Add each petal until all are on the brad then unfold the brad prongs in back.
Spread the petals like a fan so the petals are evenly distributed in a circle. Punch a hole in the top of one of the petals and tie a piece of yarn or string to it for hanging.
Your child can now hang their flowers throughout the house to bring the memory of spring flowers to your home while you wait on Spring to finally decide to stay. We have Paper Plate Posies hanging on our refrigerator to remind us that it really is spring.
Variations:
Increase or decrease the amount of petals to the paper plate posies
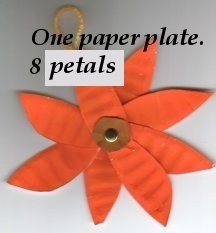
Flowers can have rounded tops more like zinnias or be creative and scallop or zigzag the tops.
Try painting the petals in different shades and then group the petals for more colorful flowers.
Your child could use stickers or stamp designs on the petals to add fun dimensions to the flower.
Let your child use their imagination and go wild while creating bouquets using different colors and styles. The most important step is to have fun.
