


Children love to make things, and being able to create fun designs from ordinary paper holds a special charm for them. Children are naturally drawn to this kind of art, (as anyone who has been the victim of a flying paper airplane can certainly attest!)
Origami is not only fun and satisfying, but it also helps foster co-ordination and dexterity. Look for designs and projects that fit your child’s age, and get ready for a project everyone will enjoy.
Did you know that you can download printable designs from the internet? (Type “free printable origami patterns” into your web browser.) There are even online tutorials with helpful pictures and videos. Also, your library will have lots of books on origami. To help you get started, here are some tips for folding neat, attractive origami creations.
1. Read first. It may be tempting to start right in on the folding, reading as you go, but take the time to read through the directions and the design before beginning.
2. Use the right kind of paper. While you don’t need to use formal origami paper, make sure you use a paper that will work for your child’s age and co-ordination level, and that fits your design. For example, thinner paper such as magazine paper works for smaller designs, but you will need something sturdier for larger, simpler projects for younger children. Origami paper is almost always square.
3. Start with projects that have ten steps or less. That prevents you feeling overwhelmed.
4. Make sure you are folding on a hard surface such as a smooth tabletop or floor. This will help keep the paper from creasing in unwanted areas and will help you to make clean folds.
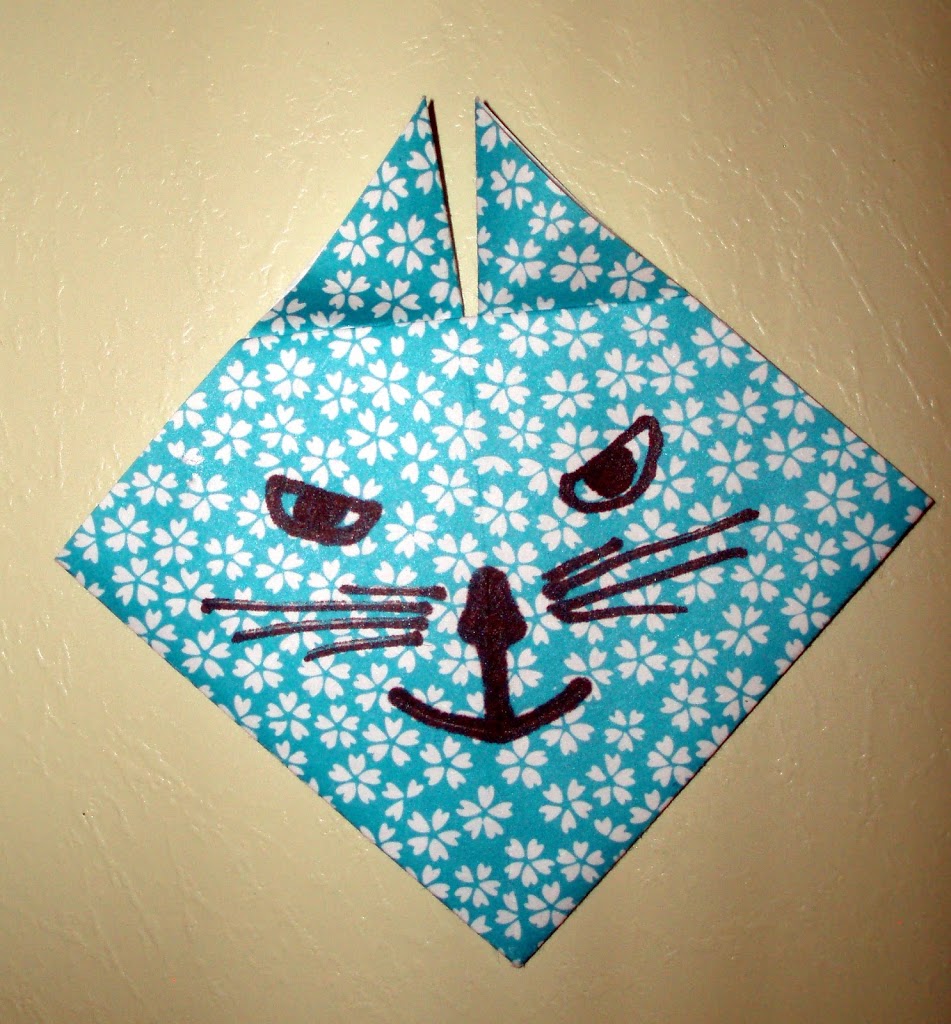
For an easy beginning project, here are the basic instructions for a simple origami cat.
Materials:
* 1 sheet of square paper, at least 6 inches by 6 inches
* Markers
Optional: Plastic “googly” eyes, buttons, felt or other embellishments for cat eyes and features
Directions:
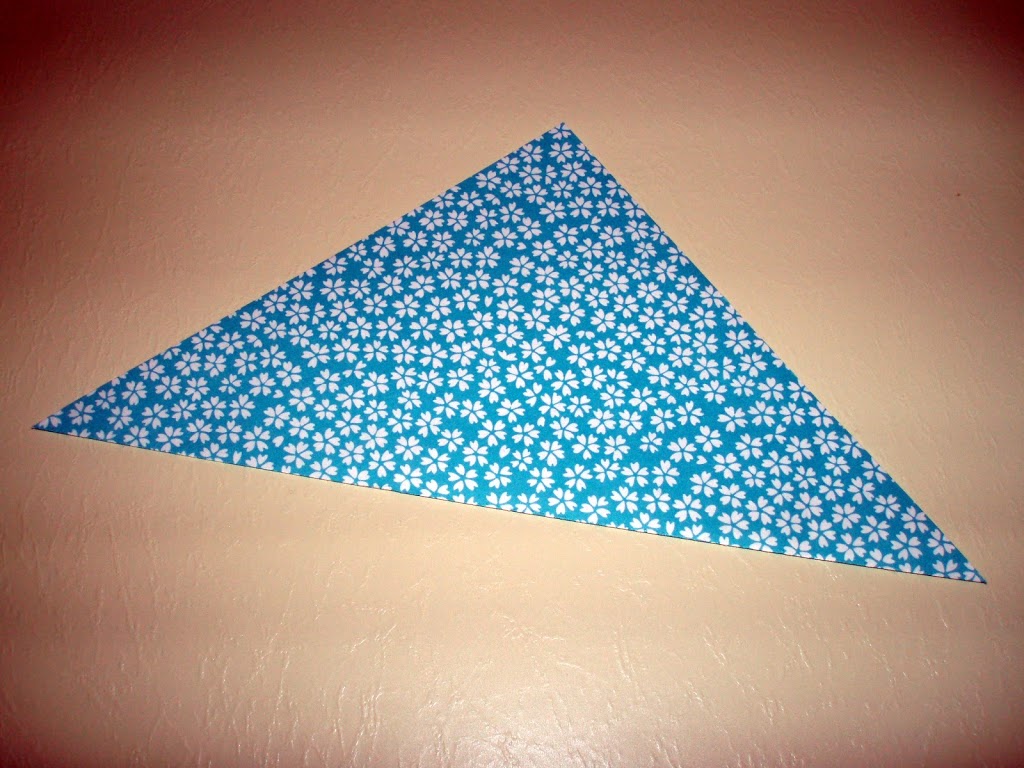
1. Fold the square paper in half diagonally to make a triangle. Make a smooth crease.
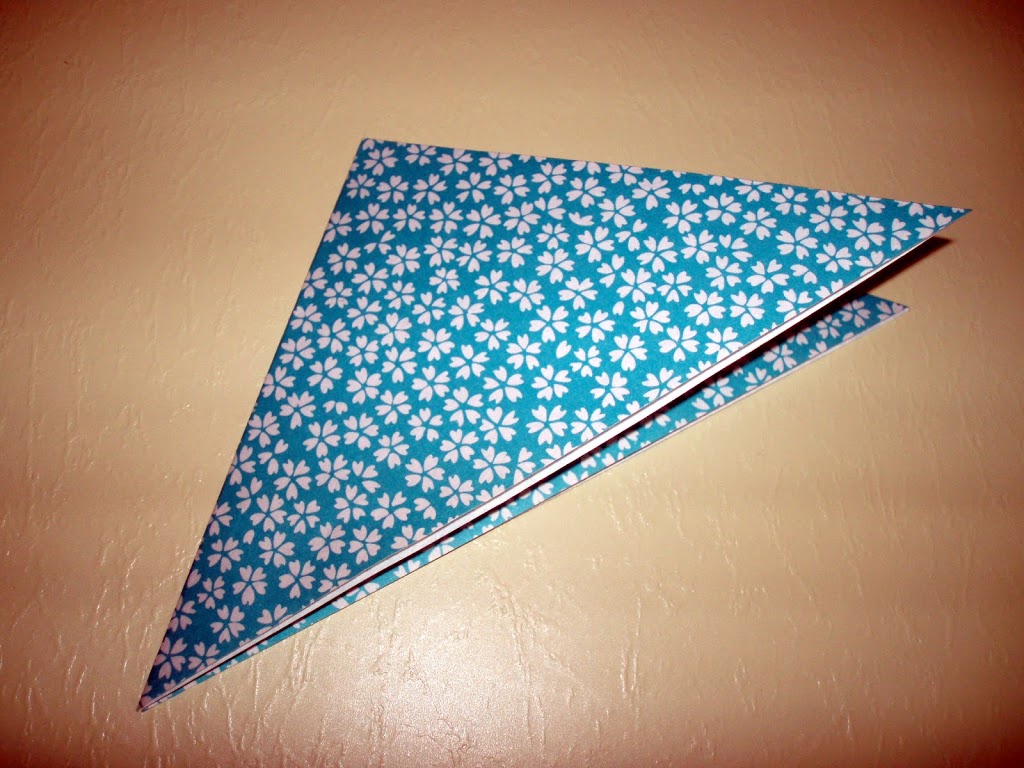
2. Fold the paper in half again, once more diagonally. Make the fold smooth. Then open this fold up again.
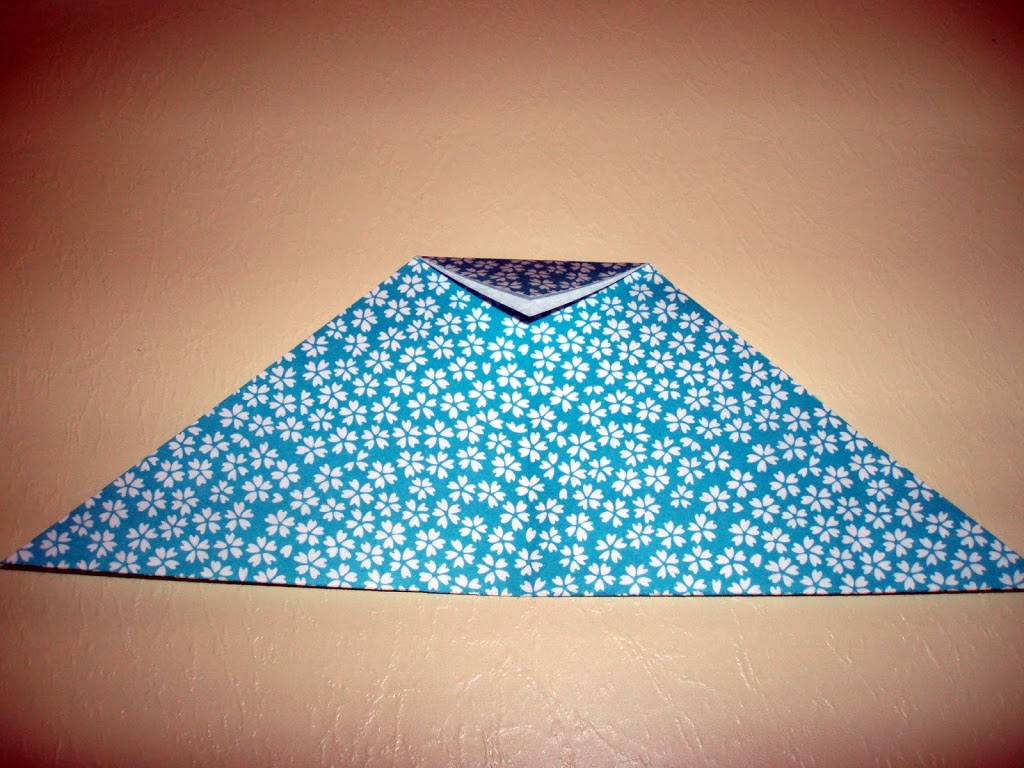
3. Fold the top tip of the triangle down so that it comes down about 1/4 of the way. The flat top you create with the smooth crease will be the top of the cat’s head.
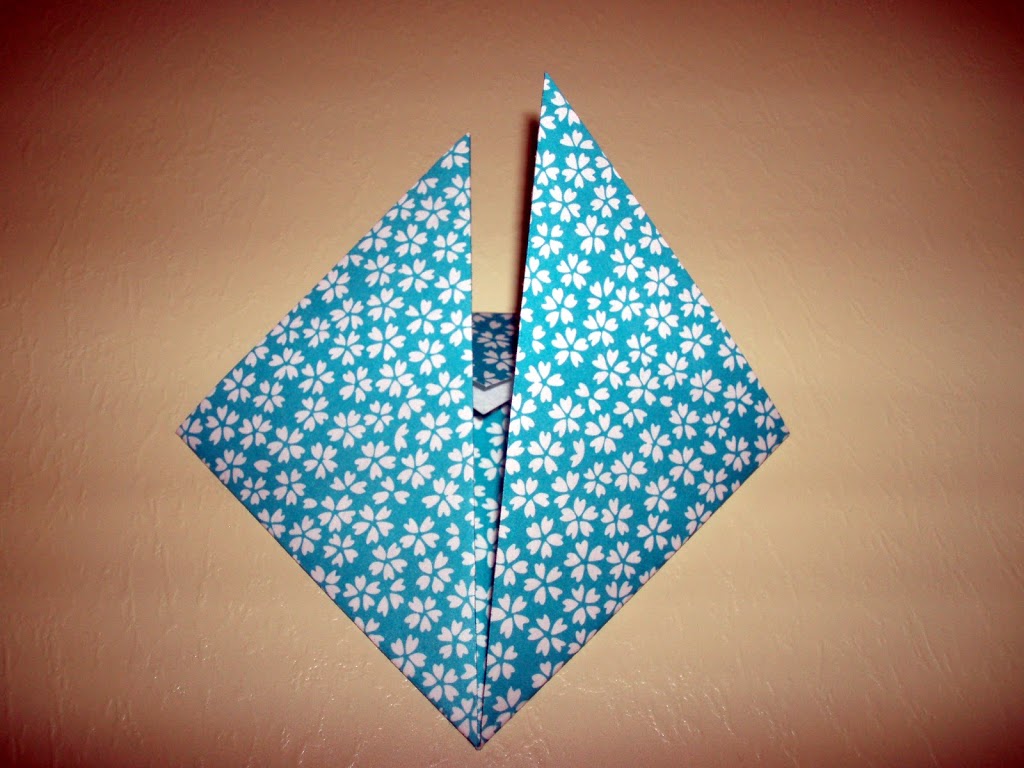
4. Fold the bottom right corner straight up – the point will go slightly beyond the top of the cat’s head to make the ear.
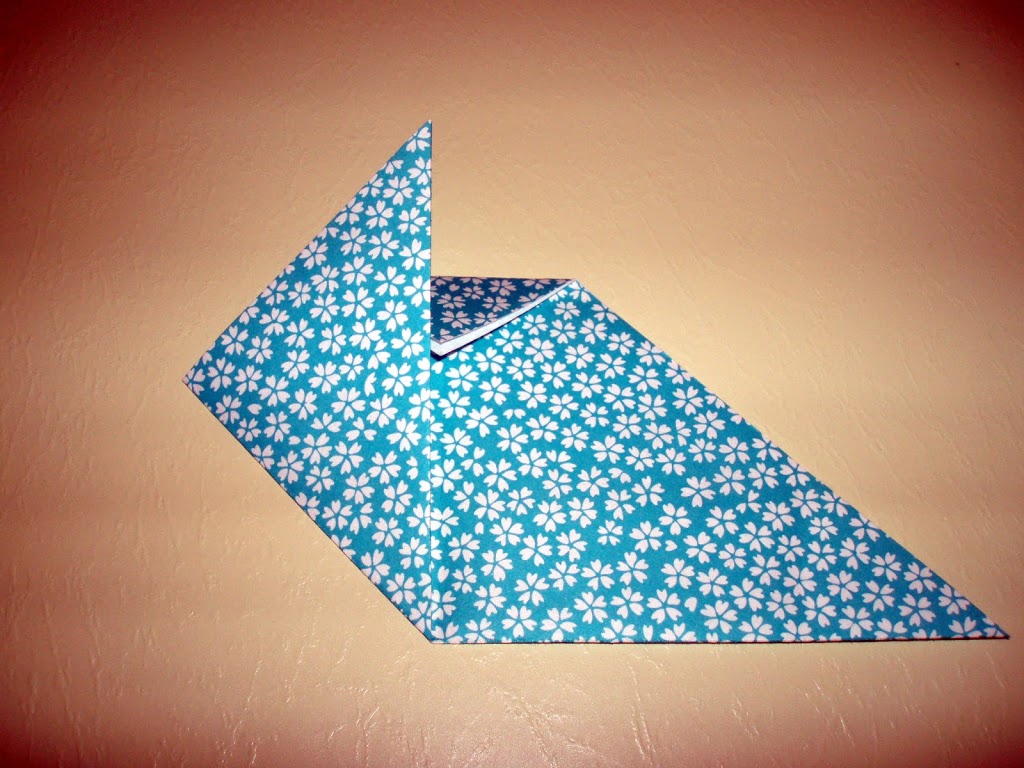
5. Repeat with the bottom left corner.
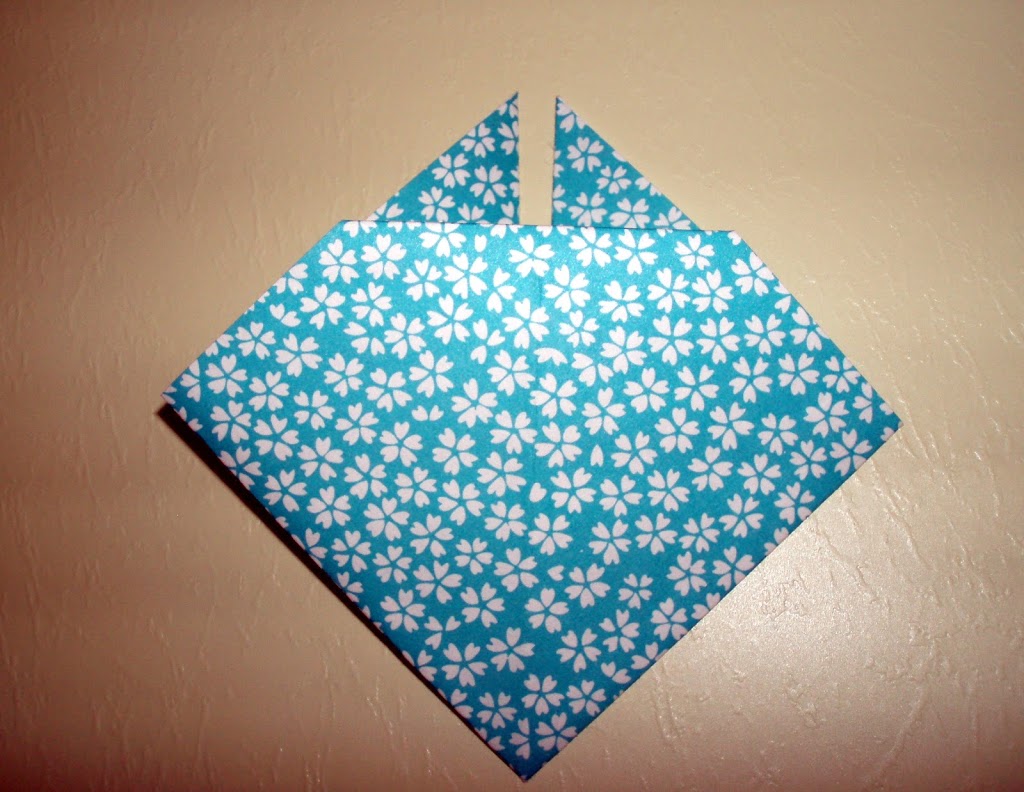
6. Flip the whole thing over, and you have a simple cat’s face to which you can add whiskers and eyes.
This is so cool–and easy enough for me to do it. Thanks!