

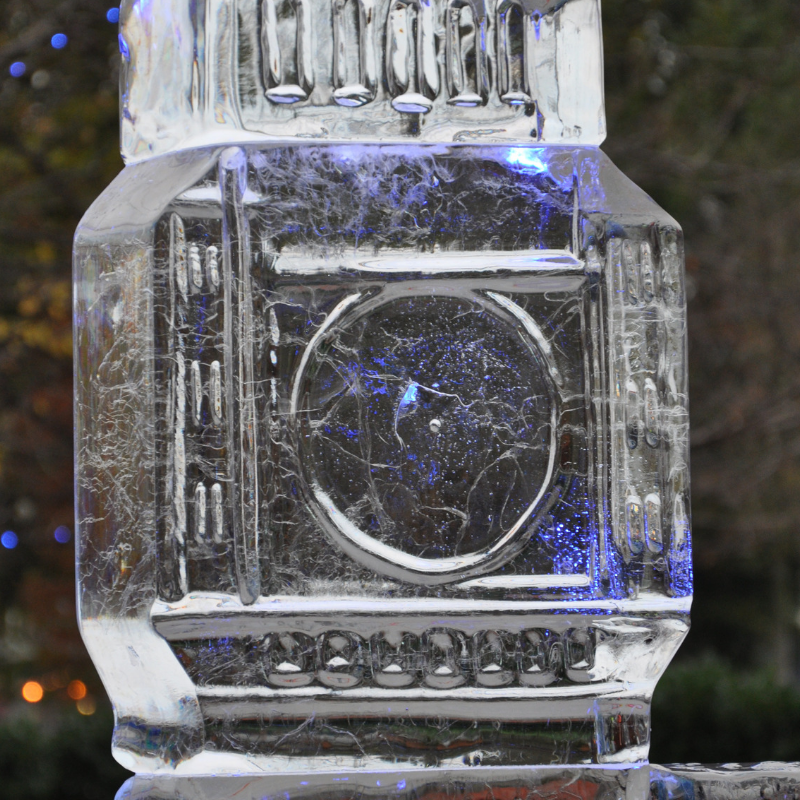
Usually, when we see ice sculptures, it’s at a wedding or other formal affair. If you’ve ever been to St. Paul, Minnesota in January, you may have seen some amazing sculptures created during the winter carnival (it’s tops on my favorite festival activities to watch, and totally worth the trip to see!)
The beauty of sculpted ice is fascinating to adults and children alike, so wouldn’t it be great to be able to build a beautiful ice sculpture at home with the family?
Actually, you can. And you don’t have to give your children sharp objects to do so. Best of all, creating an ice sculpture provides a valuable learning experience for kids of all ages. Here’s how to do it.
What You Need
* Water
* Ice molds and/or plastic containers
* Food coloring
* Salt
* Dish washing liquid Instructions
1. Wash the ice molds or plastic containers thoroughly with dish washing liquid and warm water. You need to make sure there are no traces of dirt or dust inside of them, because if there are, it will affect the outcome of the sculpture.
2. Fill each mold or container about 90% full of water to allow room for expansion during freezing. Add a few drops of food coloring and mix thoroughly. If the molds or containers you’re using are opaque, you might want to mix the food coloring and water in a clear container beforehand so that you can see the results.
3. Place the molds and containers in the freezer, making sure that they sit level. Allow to freeze at least overnight, and for a couple of days if possible.
4. Remove the molds from the freezer and place them on a table. It’s a good idea to do this outdoors if possible, because it will get messy!
5. Have your child or children build sculptures with the various shapes of ice. Each child can build his own sculpture, or they can work together to create one big one.
6. When the sculpture is the way they like it, sprinkle a bit of salt on the parts of the ice that touch other pieces. This will melt the ice a bit, helping the pieces stick together.
Tips
* For best results, use distilled water instead of tap water. Distilled water makes clearer ice, especially if you let it sit in the ice mold for a few hours to overnight before freezing.
* If you’d like to add a little extra shimmer to your ice sculpture, try adding a bit of glitter to the water before freezing.
* If temperatures are below freezing outside, and won’t get above freezing for several days, you could leave the molds outdoors to freeze. This will eliminate the need for extra freezer space and make it possible to make as many pieces as you have molds. If you choose to do so, it’s best to place the molds in a sheltered area and leave them for at least a few days to ensure proper freezing.
My son would absolutely love this! 🙂 I’ll try the salt next time so the pieces will stick together.