


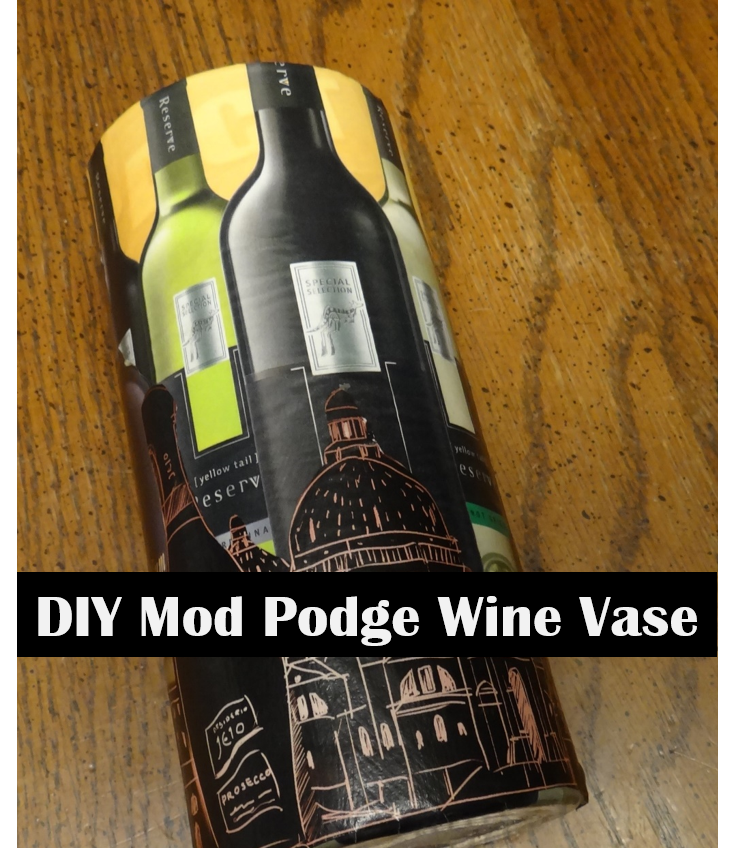
Wine is the new rooster motif in our home lately! As hubby and I enjoy a great glass of wine with a good meal or sometimes indulge in a lovely port as an after-dinner treat, we’ve been amassing a collection of corks. Recently, we’ve added them to our decor with a cork board/trivet and housed the rest in an attractive cork cage. To continue the wine theme in our kitchen, I wanted to add a few items, but didn’t want to spend a fortune in the process. The very first DIY I decided up was a Mod Padge wine vase to hold my spring blooms. 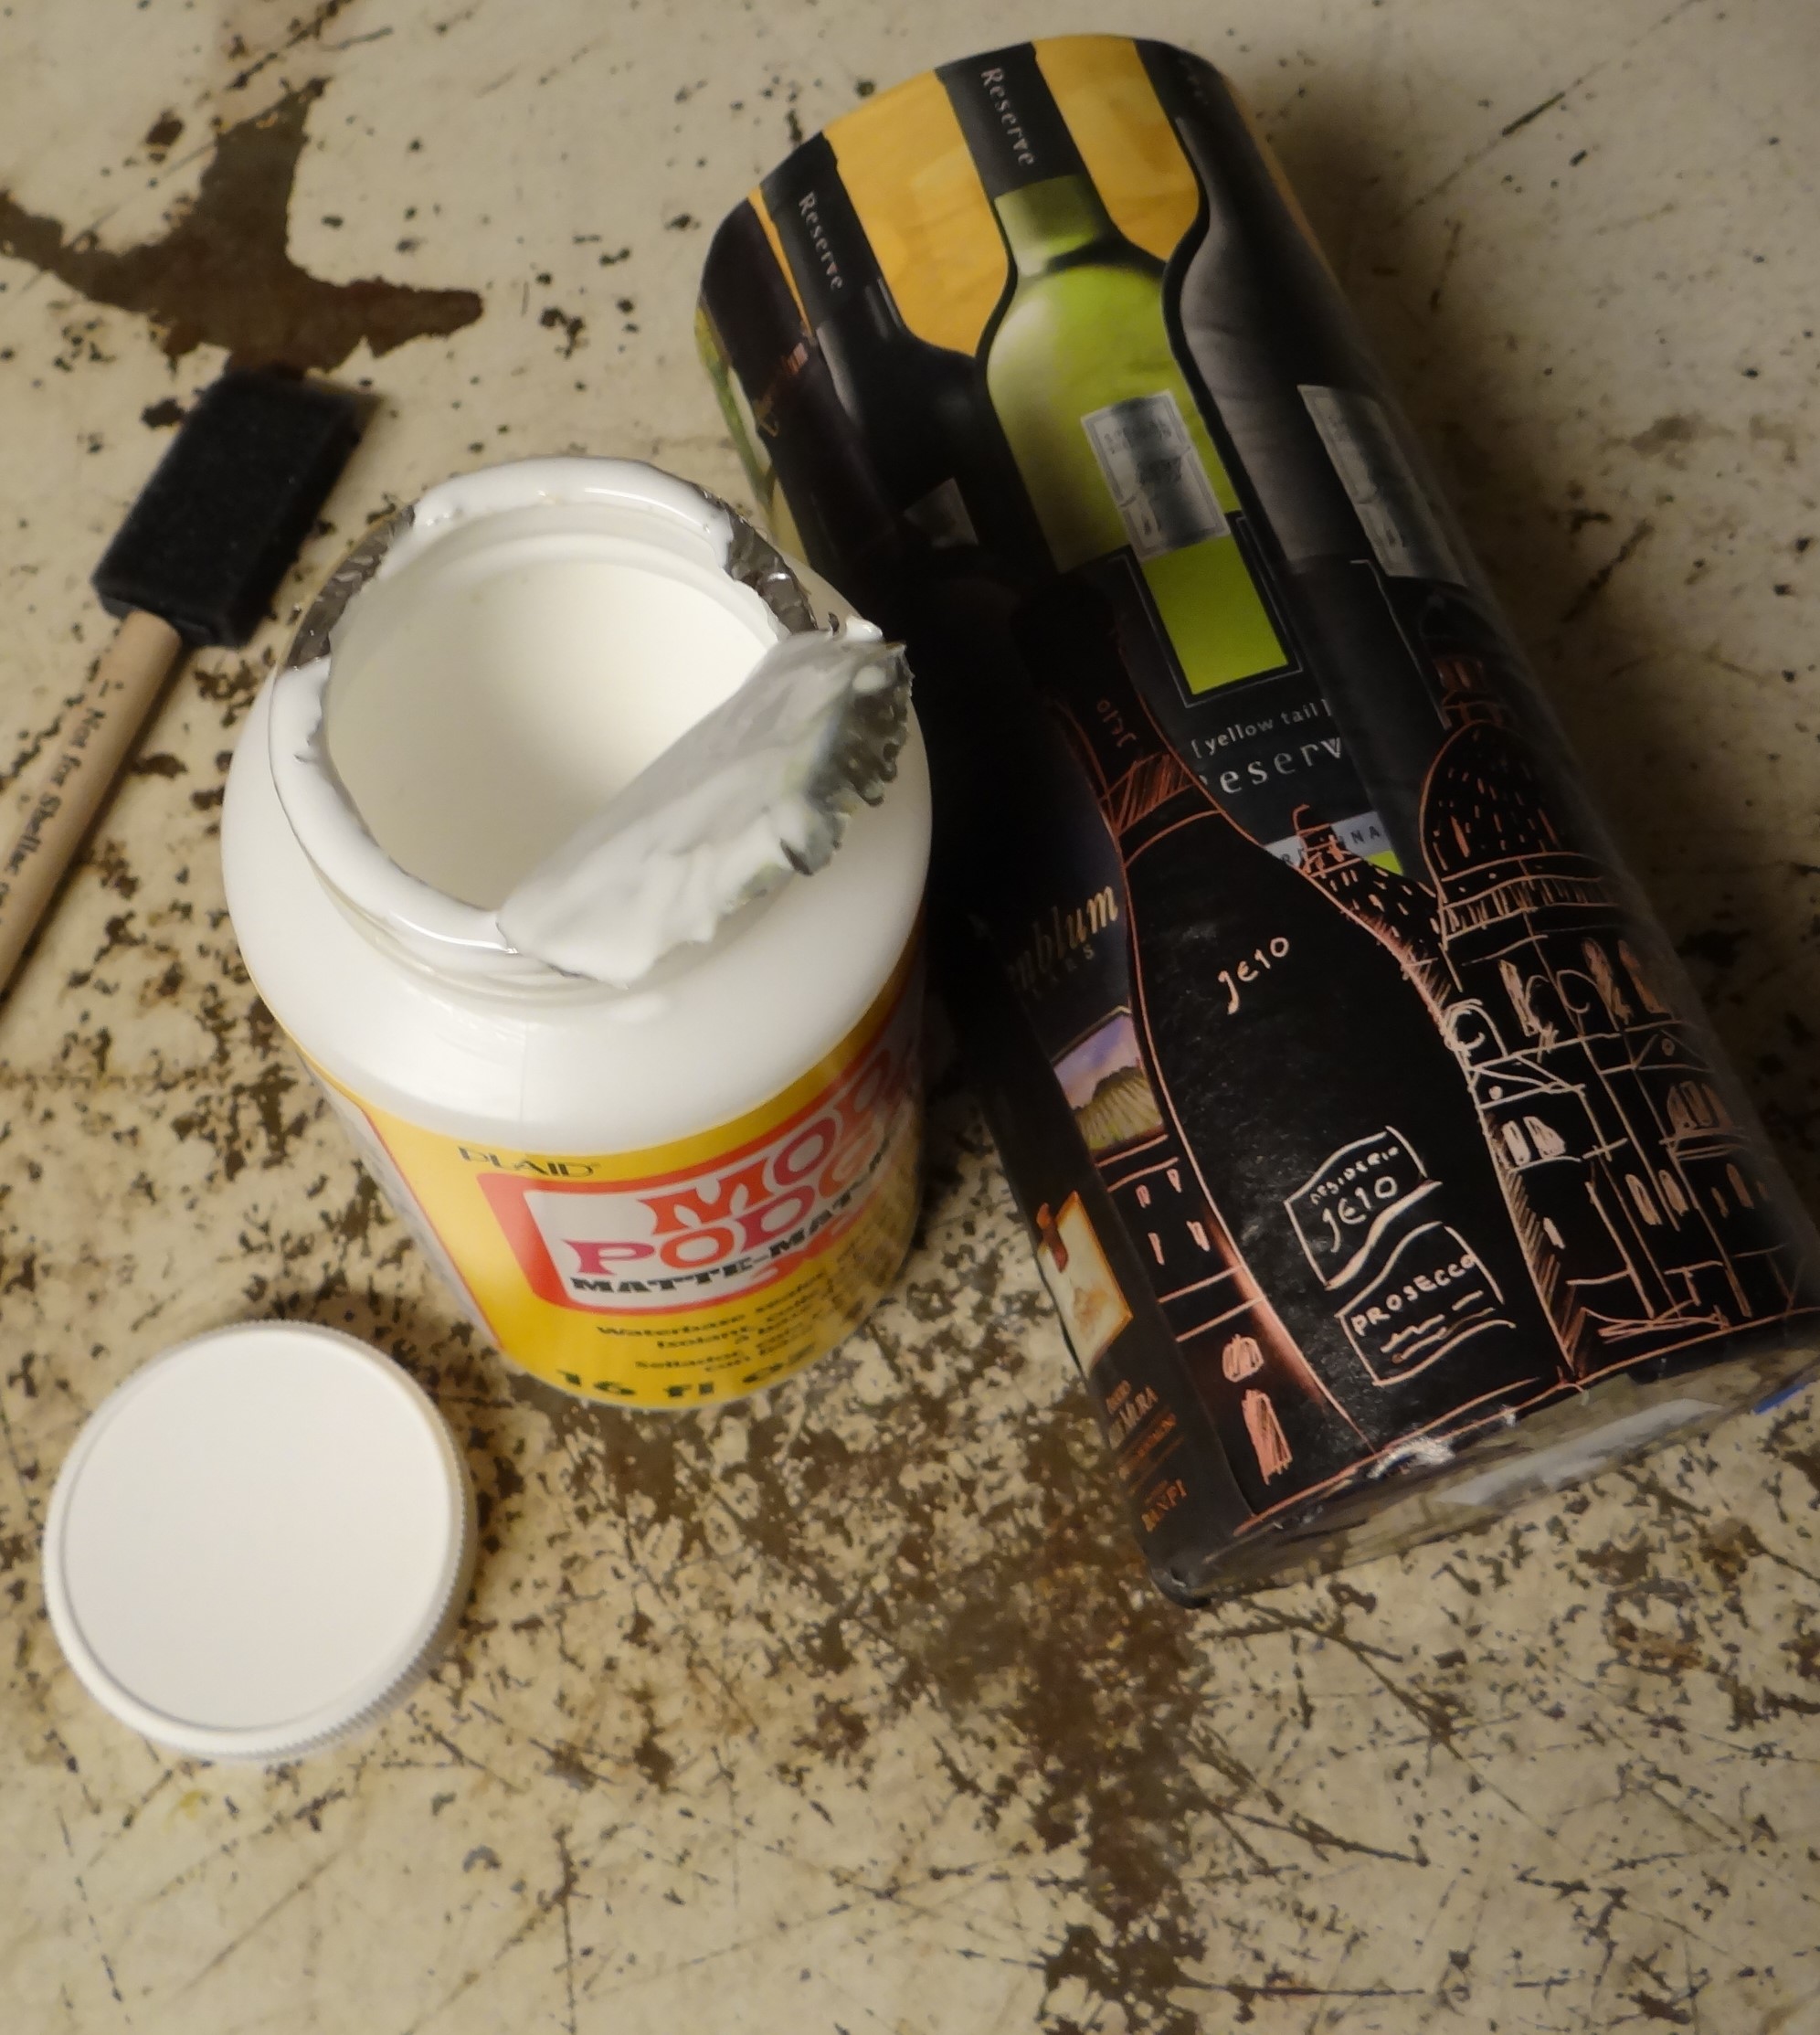
Affordability is the allure of Mod Podge! You can cover all types of surfaces to customize the look you want. For the wine vase, I simply hit up my magazine collection for wine ads to clip photos of wine bottles and other related shapes.
Materials I used:
Glass vase
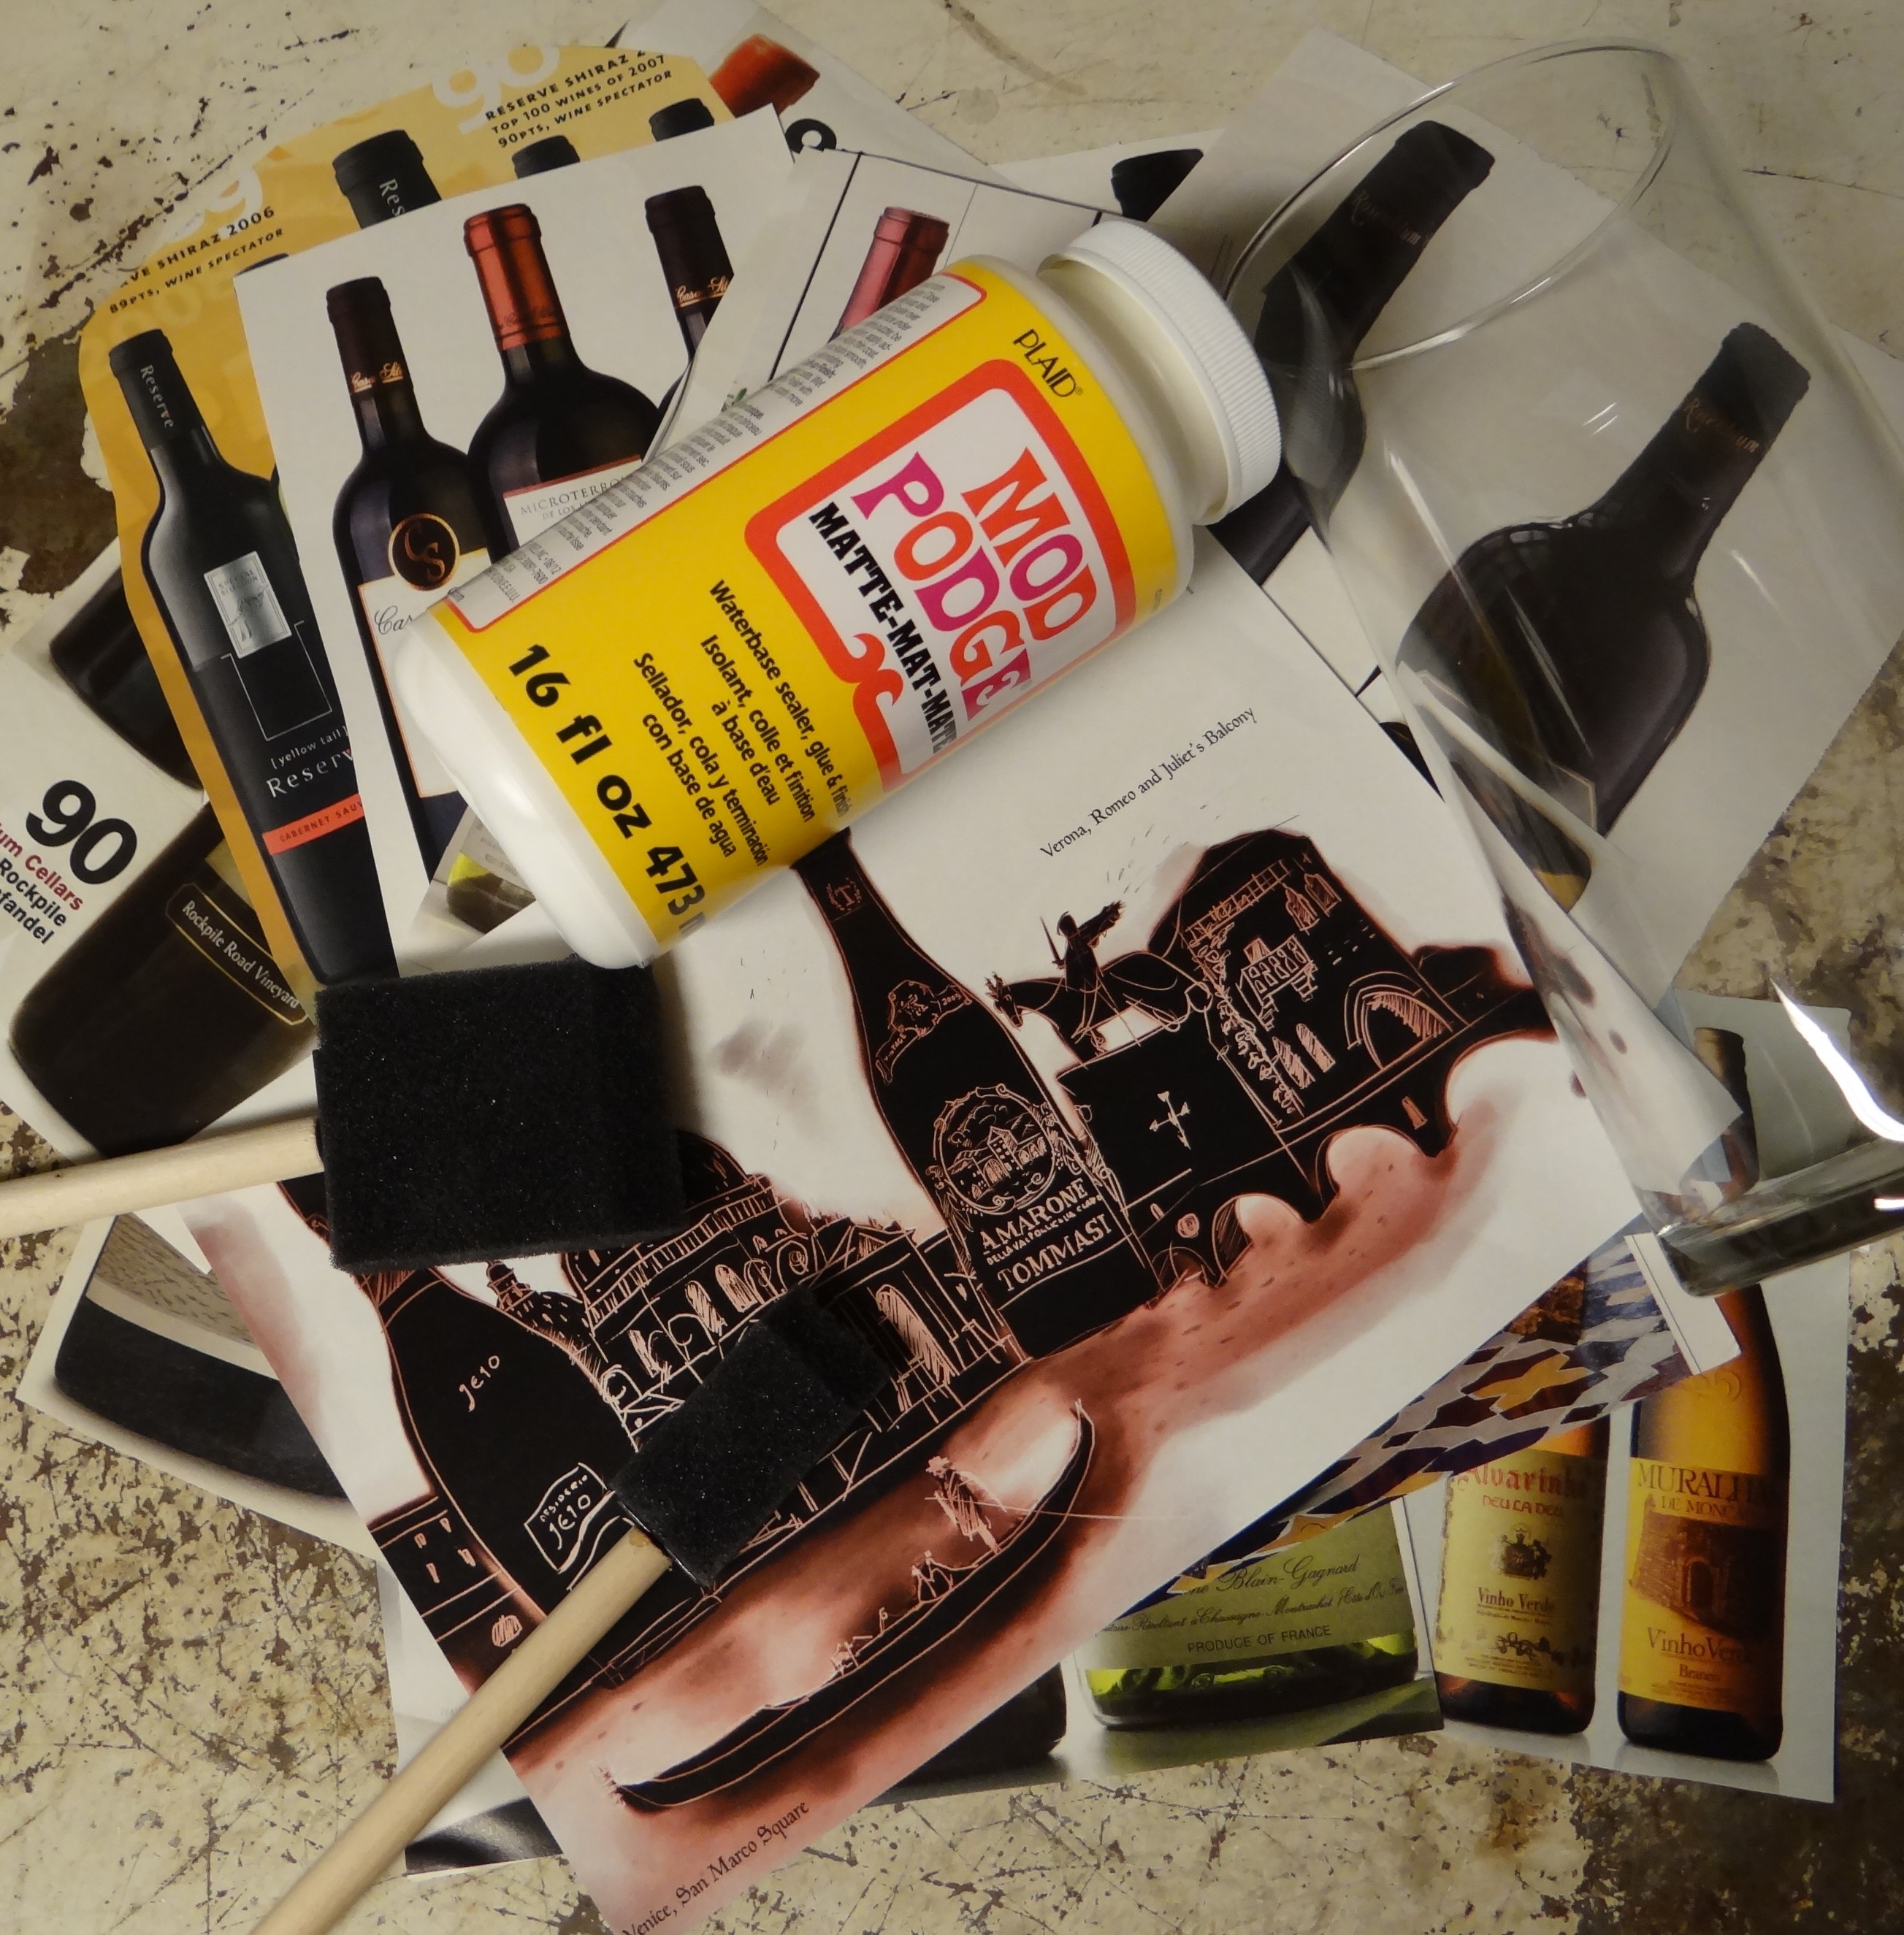
Mod Podge Matte
Magazine photos of wine bottles
Sponge brush
Scissors
Cost of project: Less than $2! I purchased the glass vase at the dollar store for $1 and the Mod Podge for $5 (with plenty left over for more projects.)
Note: There’s no preparation needed for a glass surface, but if you wish to, you can paint it first. You may wish to do this step if you do not plan to cover the entire vase with pictures. I decided I wanted to cover the entire surface, so I did not paint the glass first.
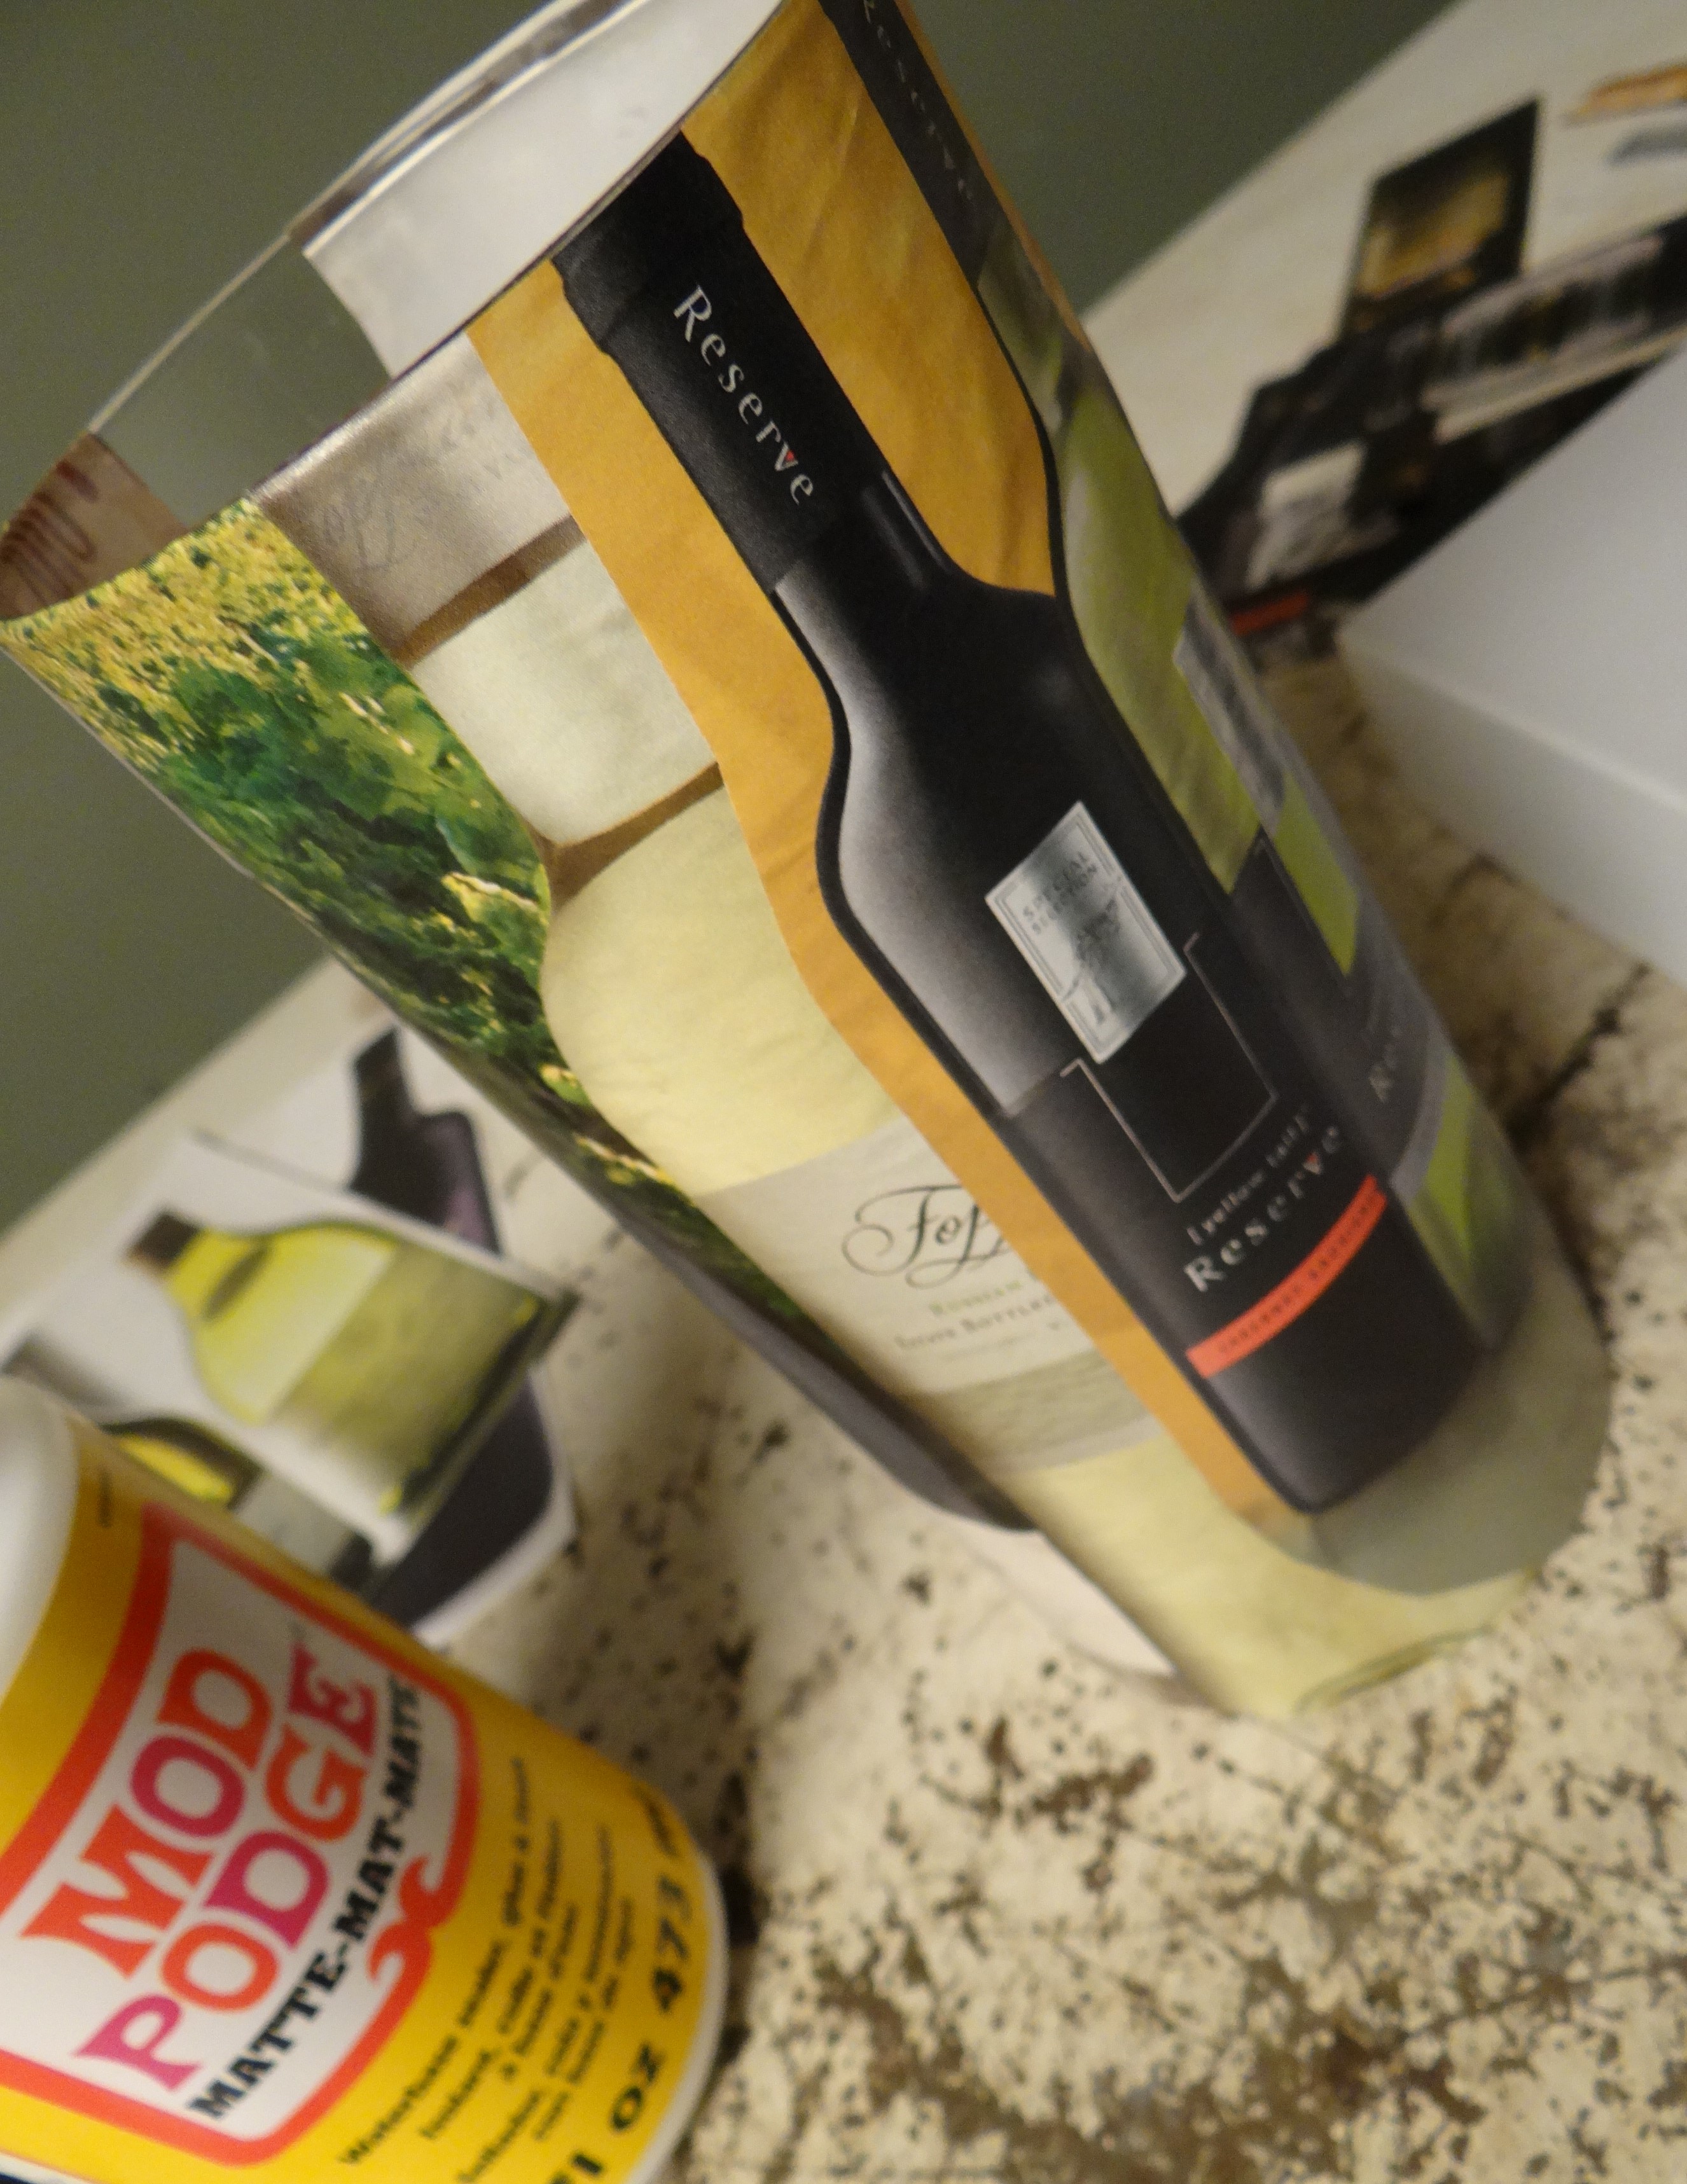
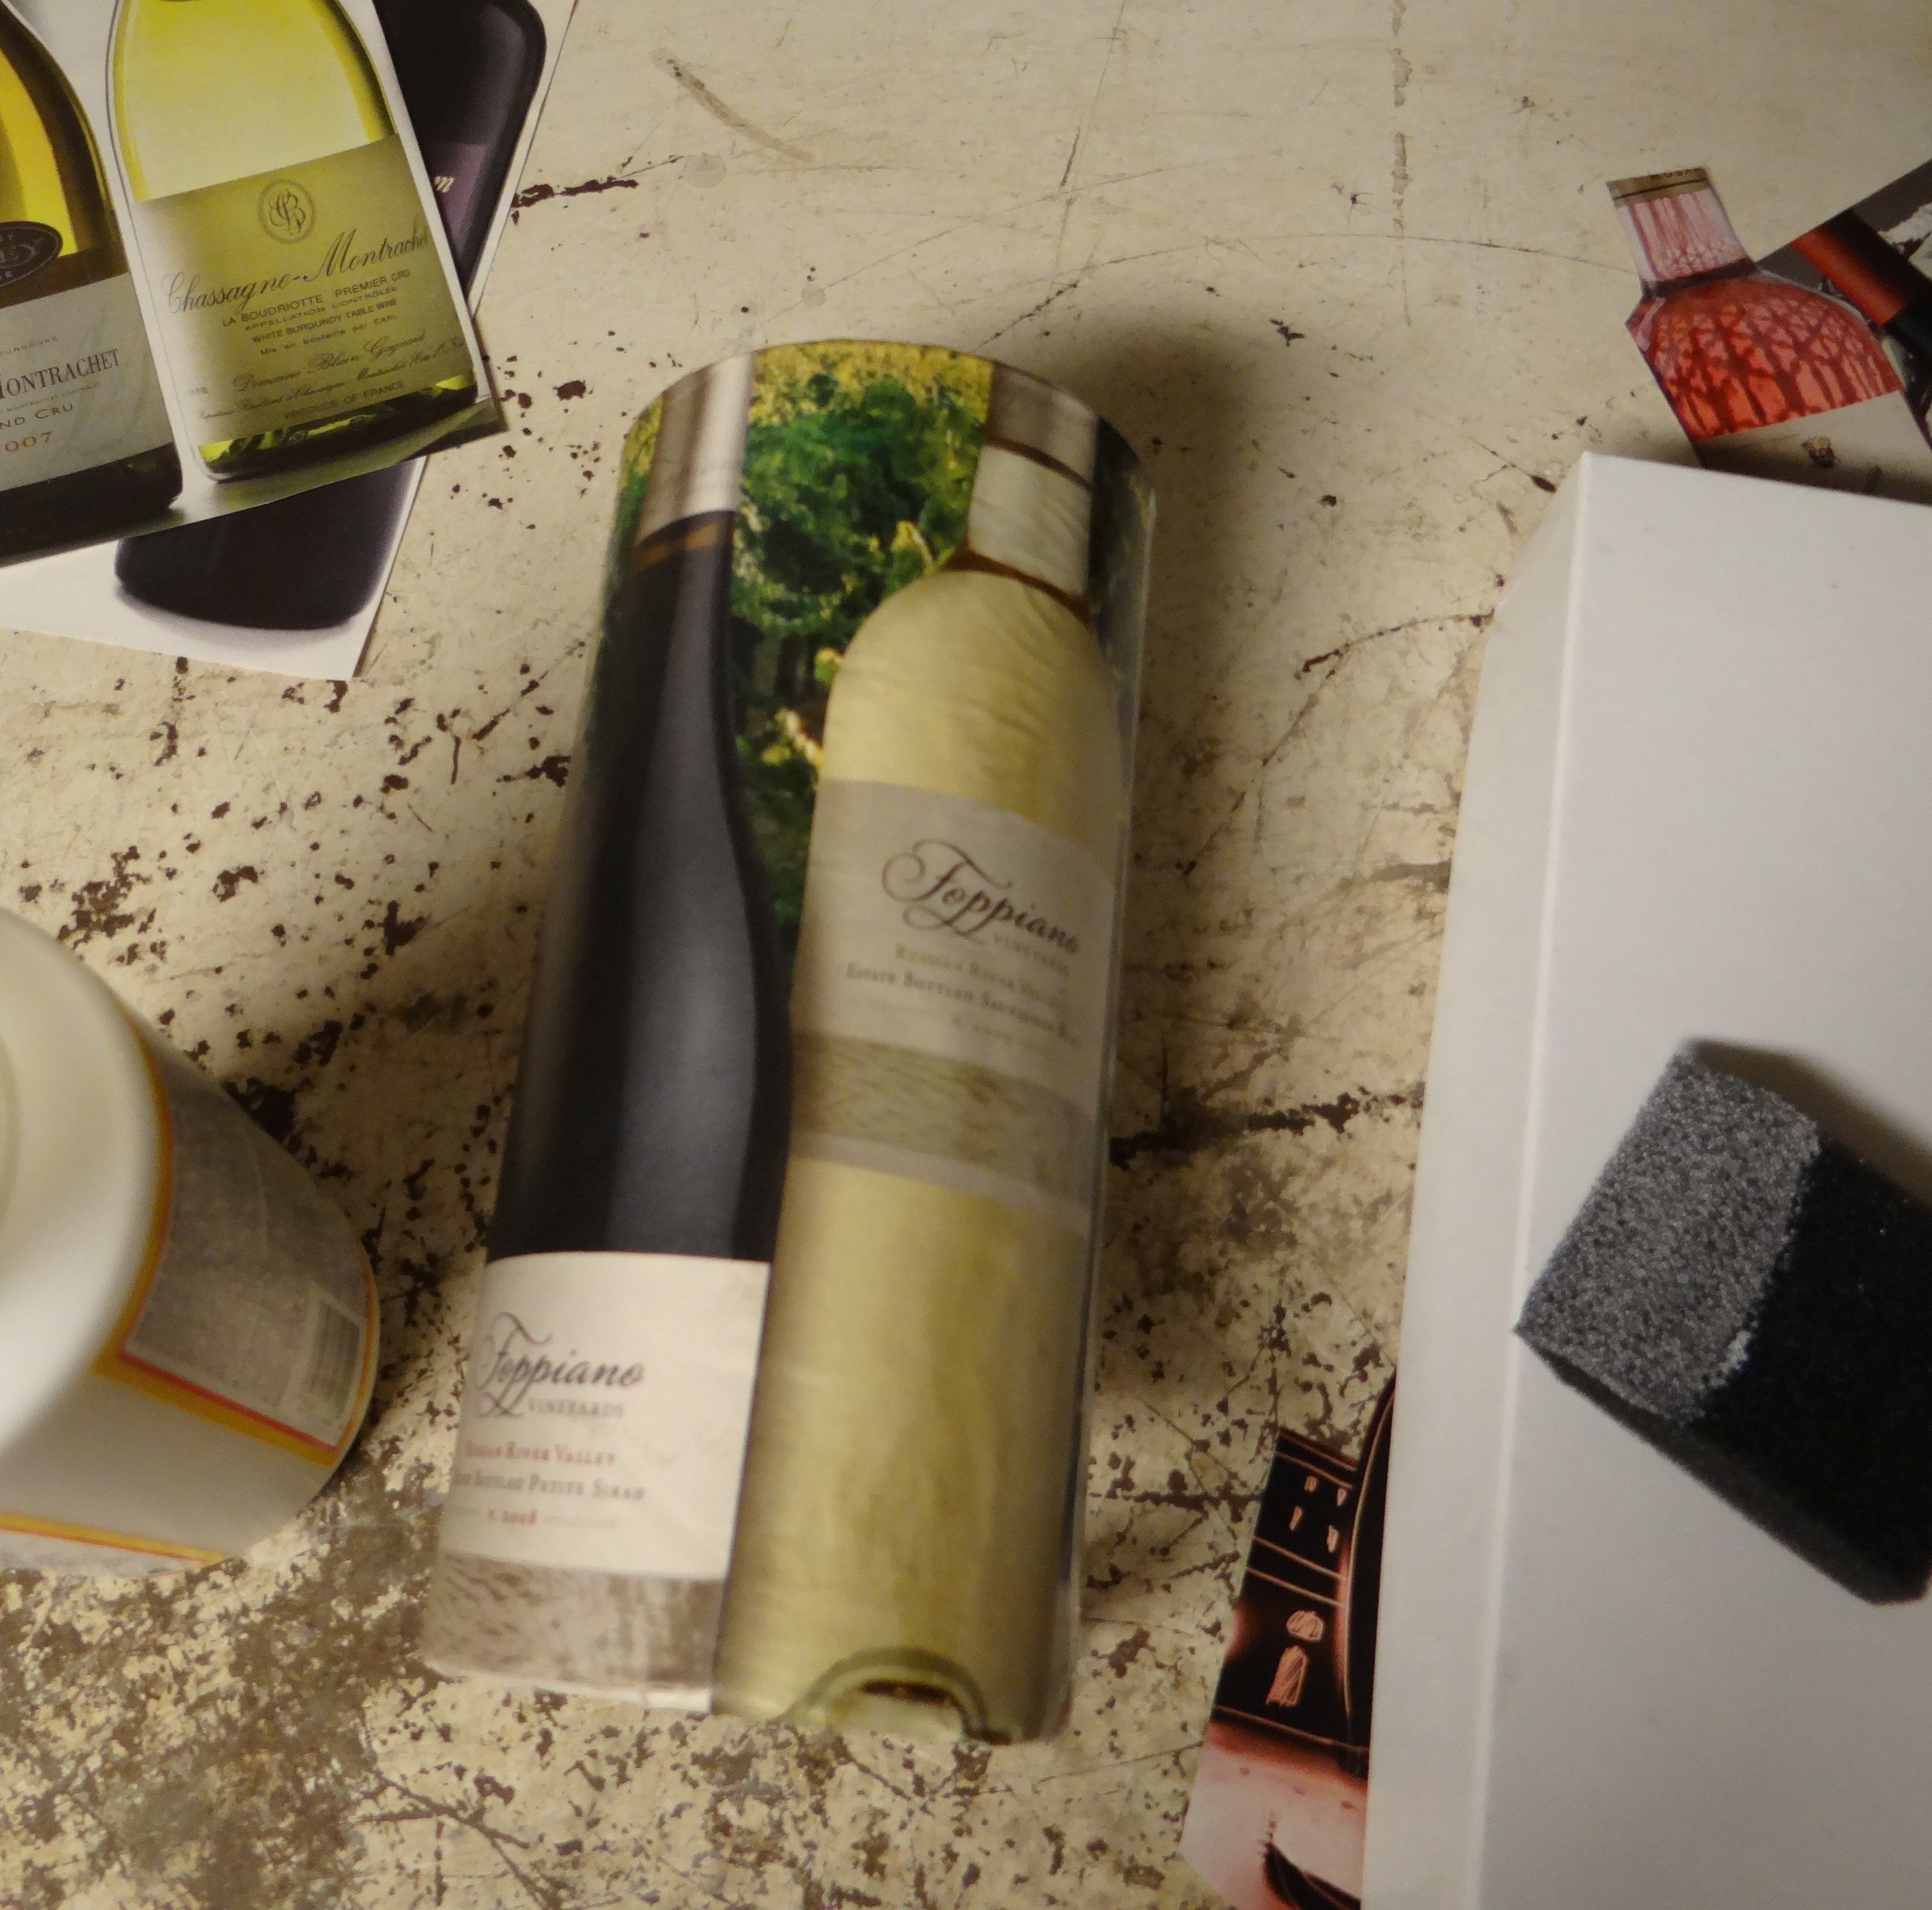
First, I cut all the bottle shapes that I wanted to use from the magazine ads and decided how I wanted to layer them on the vase. I trimmed each piece accordingly to the length of the vase to save the trouble of trimming it later (which is doable, but a bit more difficult after the piece is Mod Podge’d.)
The next step, you can complete one of two ways:
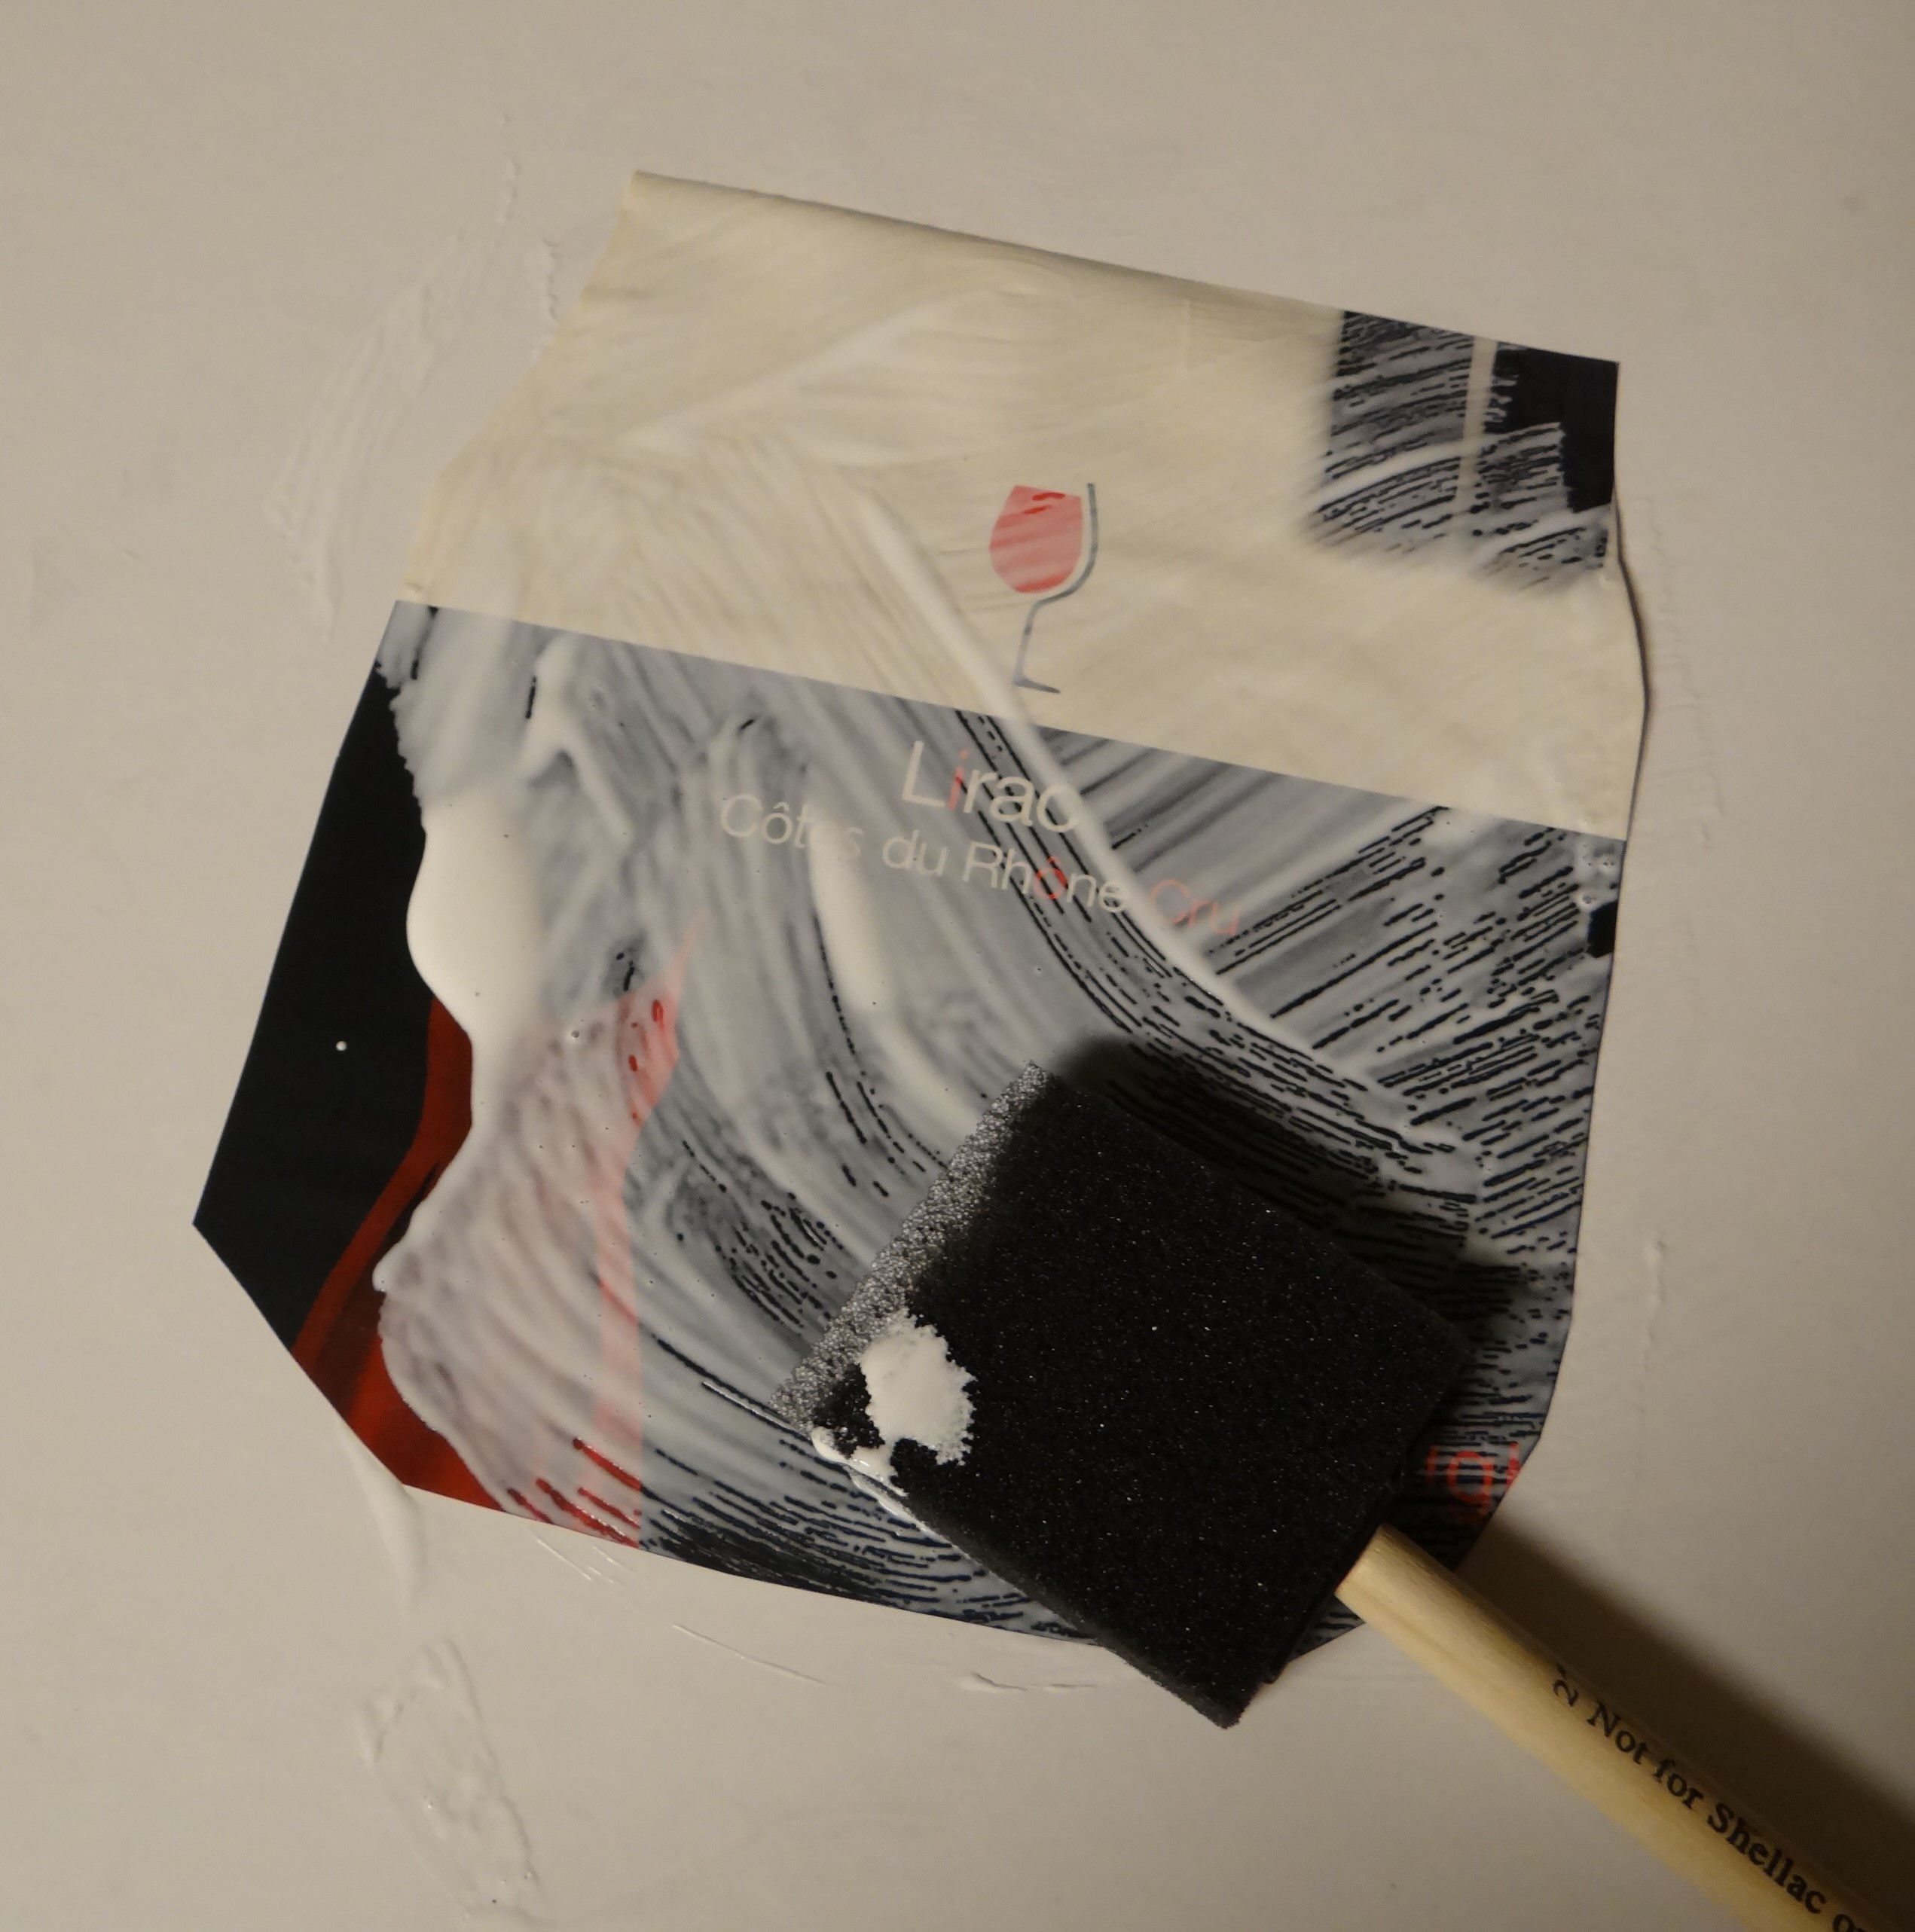
Apply a medium layer of Mod Podge directly to the surface of the vase, then add pictures in the order you prefer. If there is any overlapping over pictures. A little Mod Podge can be added to the underside of the overlapping picture to adhere it to the surface.
OR
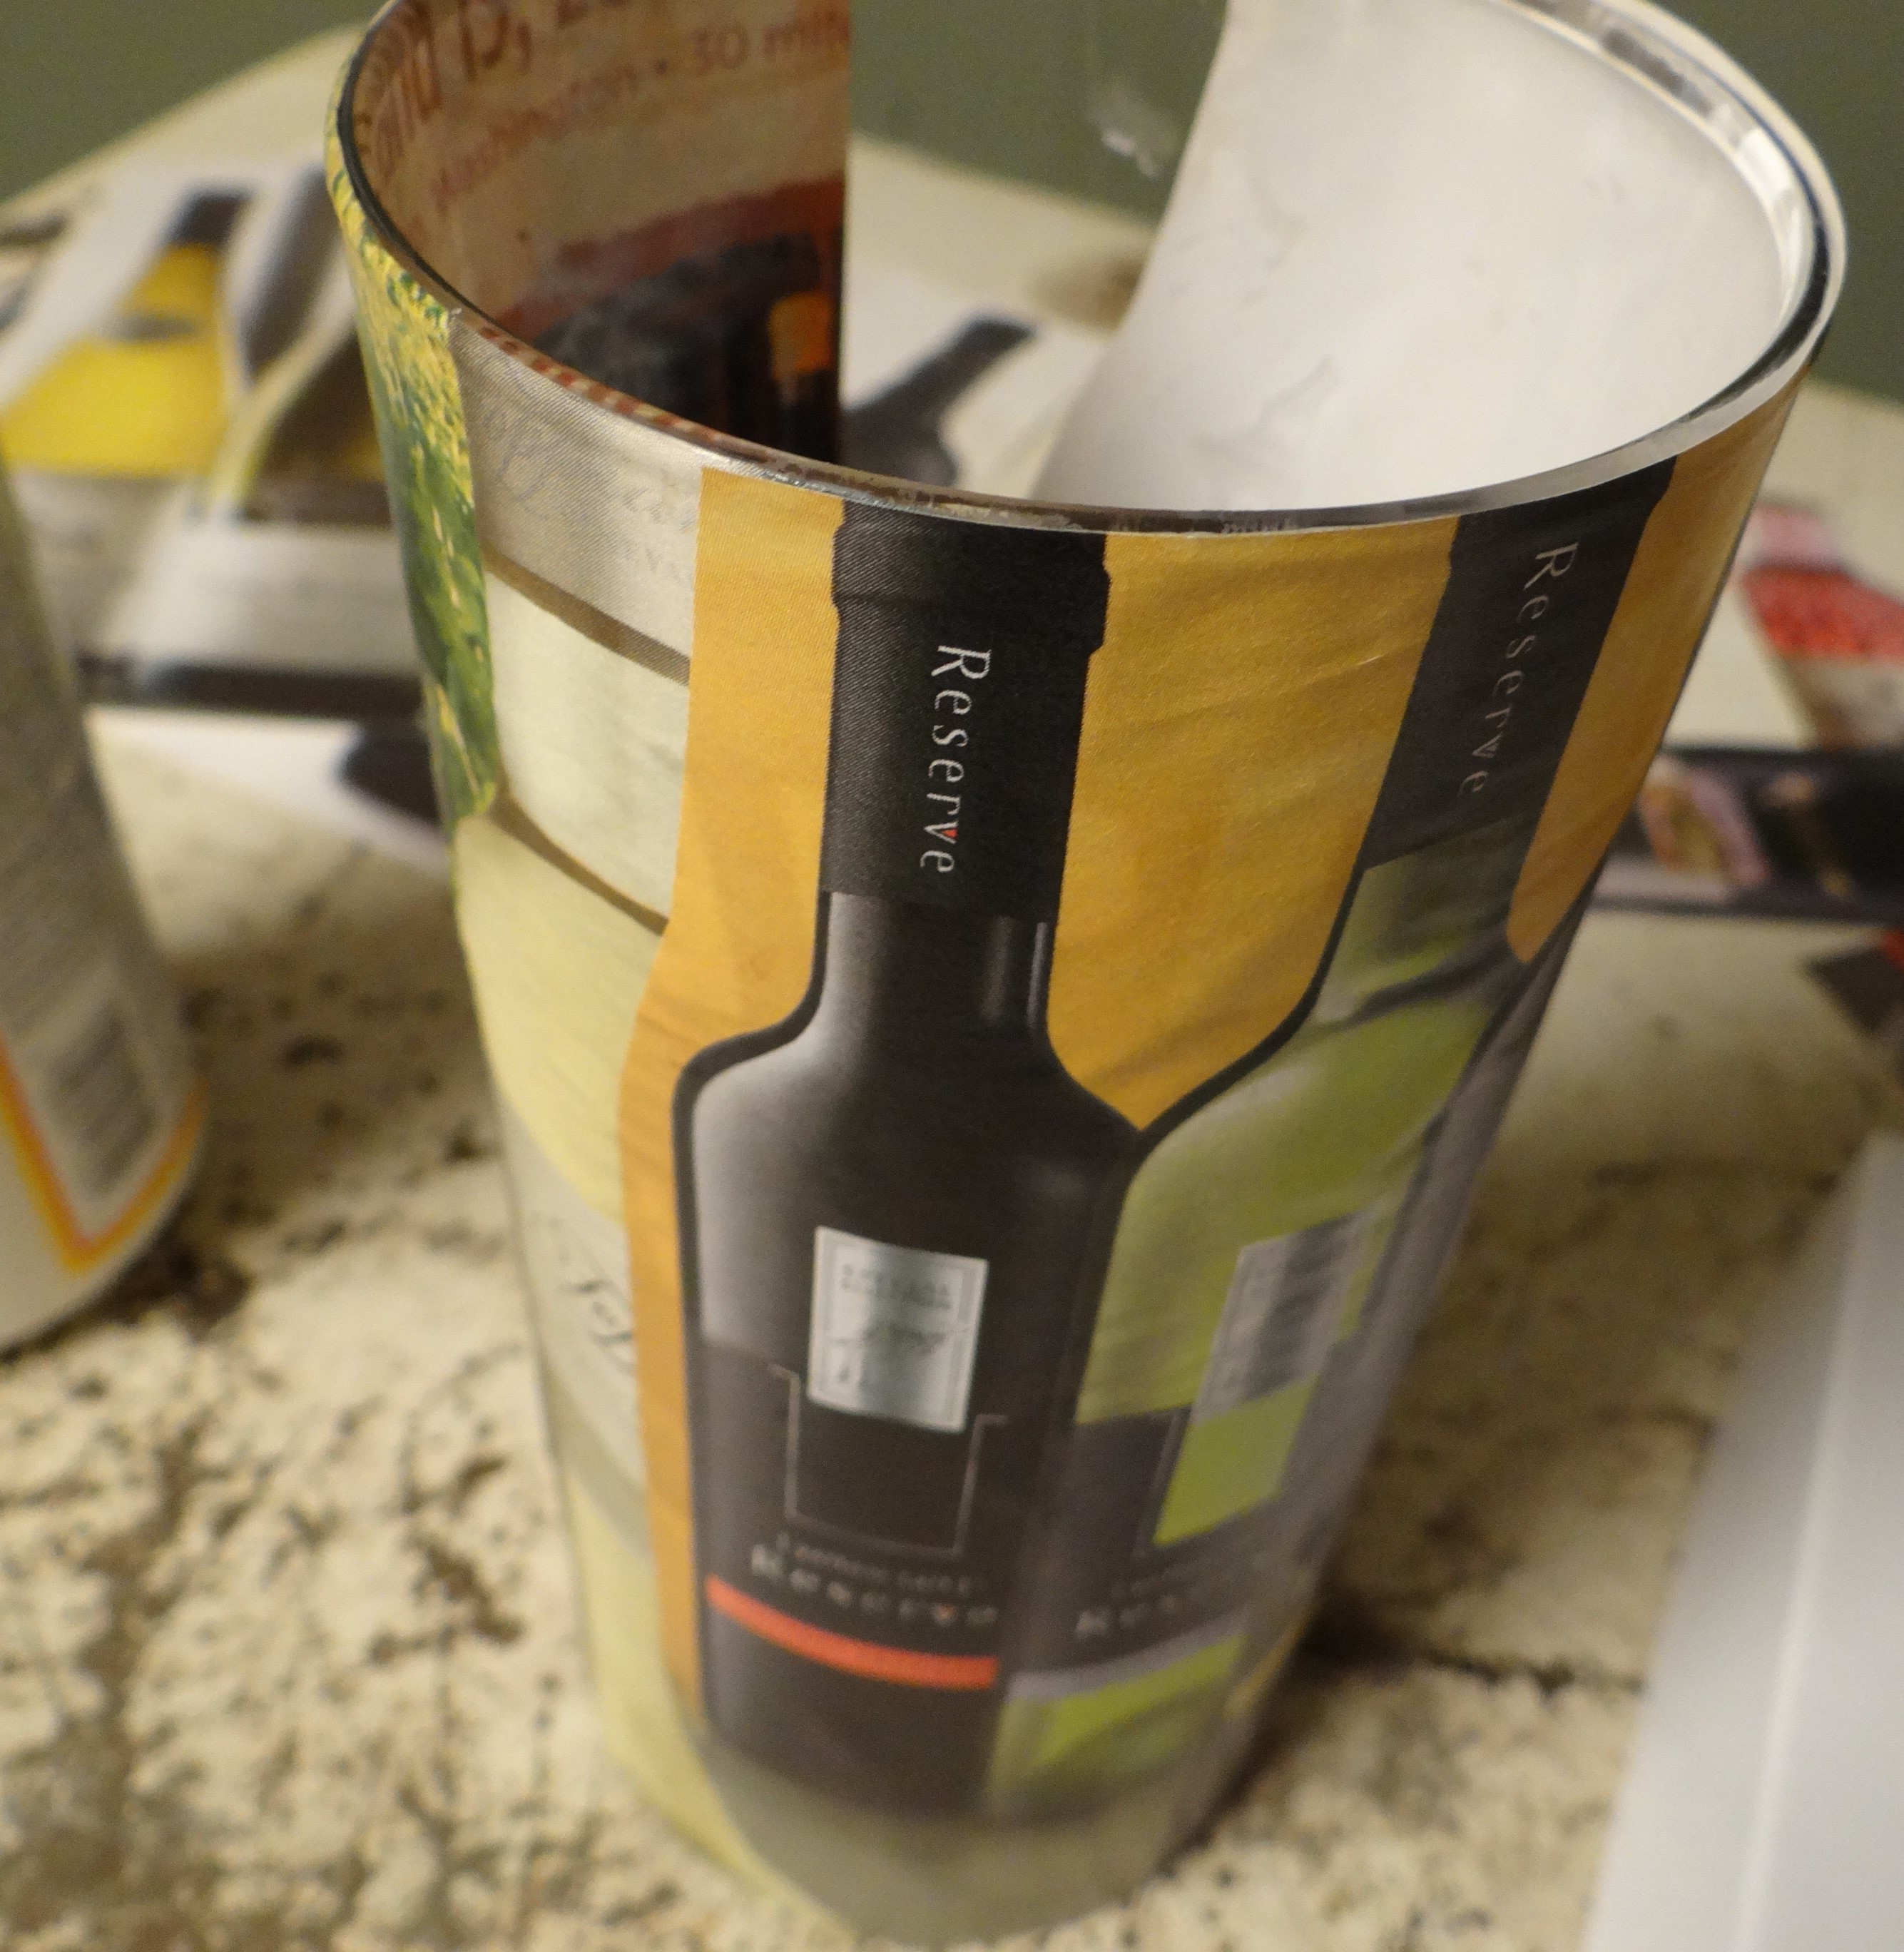
Apply a medium layer of Mod Podge directly to the back of the picture. (This is the option I chose as I had a lot of over-lapping photos.) Position the picture where you would like it on the vase, smooth to adhere. Repeat process with each photo until you cover the surface of the vase.
My biggest hang-up with Mod Podge on rounded surfaces is that it’s a bit more difficult to get out the “wrinkles” in the paper. There are Mod Podge-specific tools like squeegees and rollers, but I generally use my fingertips or the edge of an old credit card (or store loyalty card, etc.) to help work out the wrinkles. For this particular project I didn’t fuss with taking out every wrinkle as I found that keeping a few gave the vase a more rustic, hand-crafted look that I liked.
If you are putting layers of photos on the vase, once the first layer is finished, allow it to dry for 10 minutes before applying the second layer. Follow the same steps as you did for the first layer until vase is completed.
Next allow vase to dry completely. Then add a layer of Mod Podge over the entire vase surface to seal your creation. All seal to dry completely. Add a second layer of Mod Podge coating over the entire vase surface to ensure a full seal over the pictures. Allow to dry completely.
That’s it! Easy-peasy home decor on a dime! I now have a cute addition to our developing kitchen theme and a great vessel for displaying flowers when the spring blooms arrive.
Are you working on updating your home decor this winter? Do you have a favorite low-cost craft project?
I’ve been wanting to do something like this but didn’t realize how easy it was. Thanks! What magazines did you use?
Thanks Mary! I used a variety of magazines, but a lot of the photos came from Food & Wine magazine and Wine Enthusiast Magazine. Some were my own copies and others I picked up from the library (check with them to see if they have back issues, ours gives them away before recycling!)